Frankenstein Mason Jar Halloween Craft
It is the start of falltime fun. Halloween is our favorite holiday. Make your next Halloween party SPOOK-tacular with this easy to put together Frankenstein Mason Jar Beverage Cups.
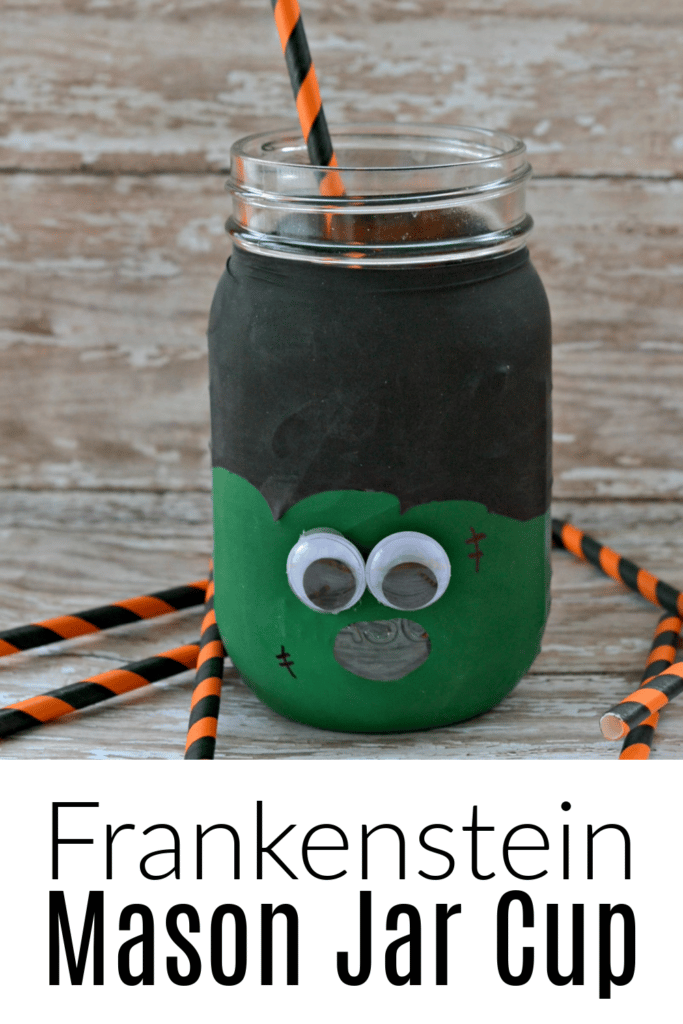
Pumpkins, apple picking, corn mazes, trick or treating,…… the start of fall-time fun. Everywhere I look, it seems fall is here in full force. Make your next Halloween party SPOOK-tacular with this easy-to-put-together DIY Frugal Frankenstein Mason Jars.
If your kids are anything like mine…they enjoy dressing up and putting on a good time. I get a kick out of making each holiday special for my kids, and I am sure you do, too. Frugal crafts are simply the best. If you already own a few mason jars, you are off to a brilliant start. You will need to gather or collect a few more supplies to put together these jars.
Follow the easy steps below to make your own with your little one today.
DIY Frankenstein Mason Jar Beverage Cups
Supplies Needed
Please note that the items needed will be based on how many jars you would like to make. The items below are needed for one Frankenstein mason jar beverage cup.
- Mason Jar – 1 needed
- Green Balloon – 1 needed
- Black Balloon – 1 needed
- 2 Googly Eyes
- Scissors
- Hot Glue
- Hot Glue Gun
- Sharpie
Making Your Frankenstein Mason Jar
STEP ONE: First, wash and dry your jars so they are ready for serving. You want to make sure that all dirt, grease, and grime have been removed. Since we are using balloons, there is always a possibility that they can rip if pulled over a small piece of dirt.
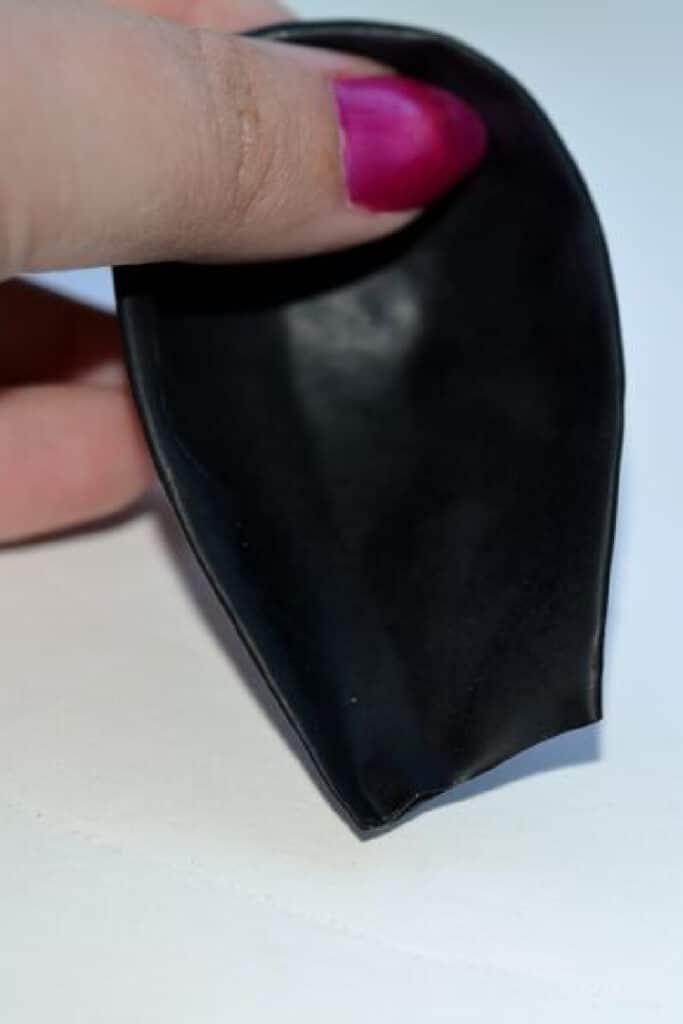
STEP TWO: Then, cut off the long skinny part of the green balloon and cut part of the other end of the balloon as well. You want there to be a hole at each end of the balloon.
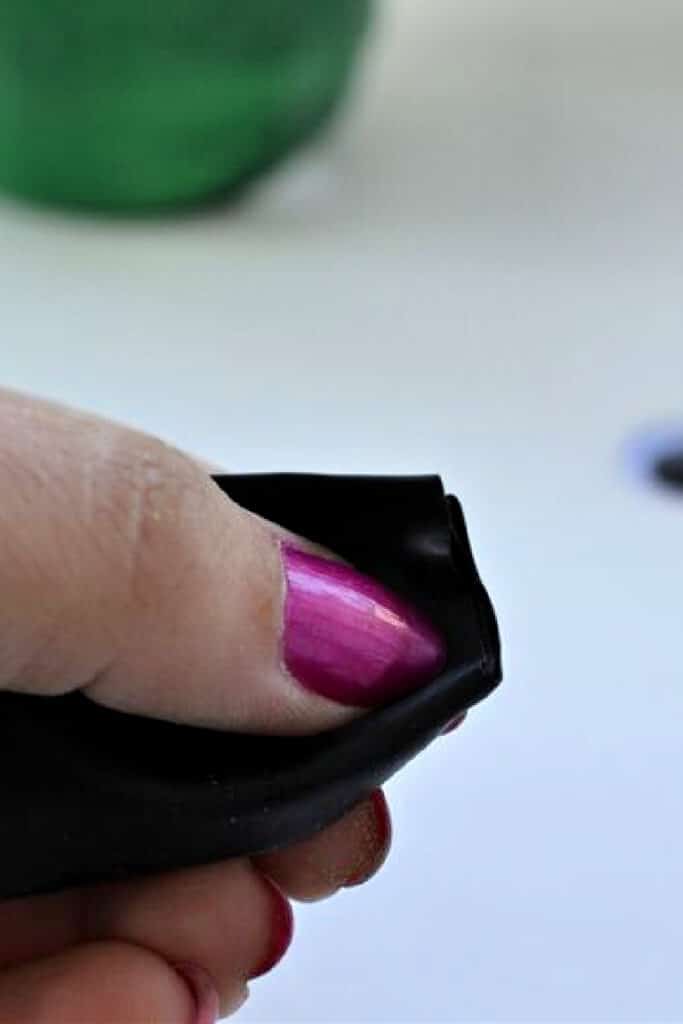
My picture looks like I am working with the black balloon, but it is the green one.
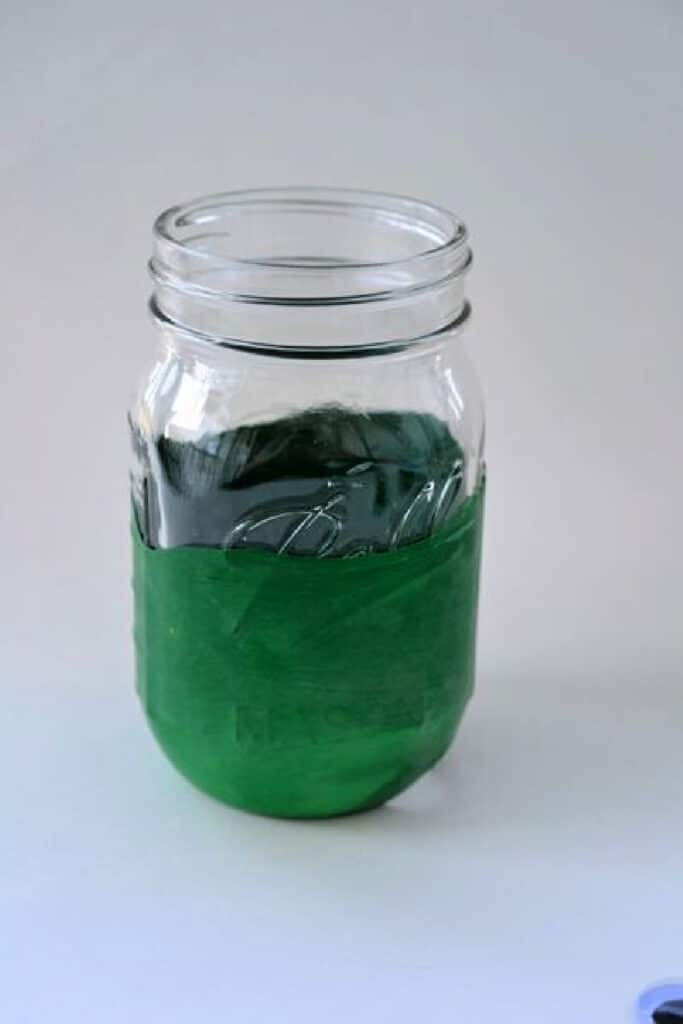
STEP THREE. Now you are ready to stretch the balloon over the bottom half of the cup. This is the trickiest part. Using both hands, open the inside of the balloon and carefully stretch it over the jar.
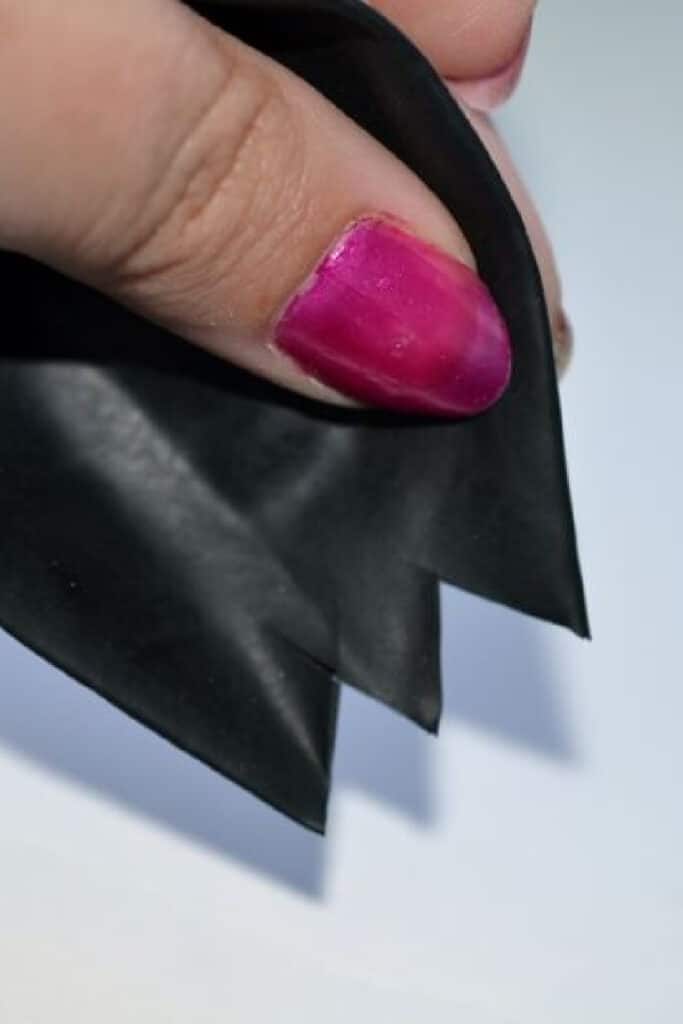
STEP FOUR: Cut the black balloon as you did with the green. On one end, you can cut out a bit of angle for Frank’s hairdo. You only need a few cuts. You will see in the next few steps pictures how these cut angles turned into more waving whims on your jar.
STEP FIVE: Stretch the balloon over the top half of the balloon. This may be the trickiest of all the steps. The reason is that if your balloon is too small, it will be very hard to cover.
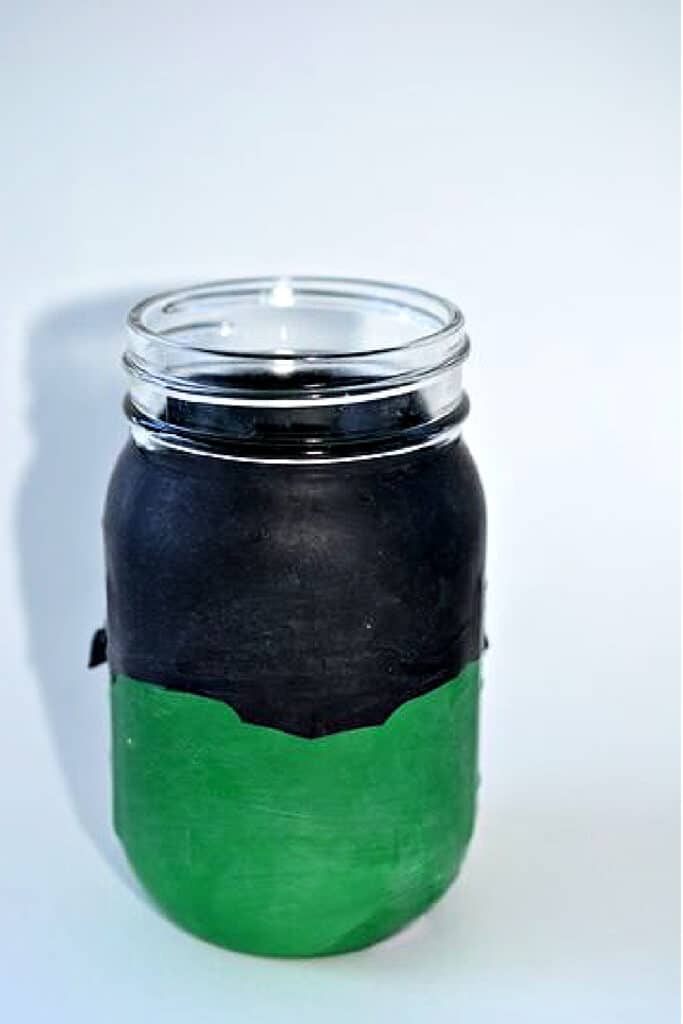
STEP SIX: Now lift one end of the balloon on the jar and make a tiny slit in the green balloon for the mouth. It will stretch and form an ‘O’ shape on its own. Try hard not to make a big slit, unless, of course, you want a big mouth. See the mouth image below.
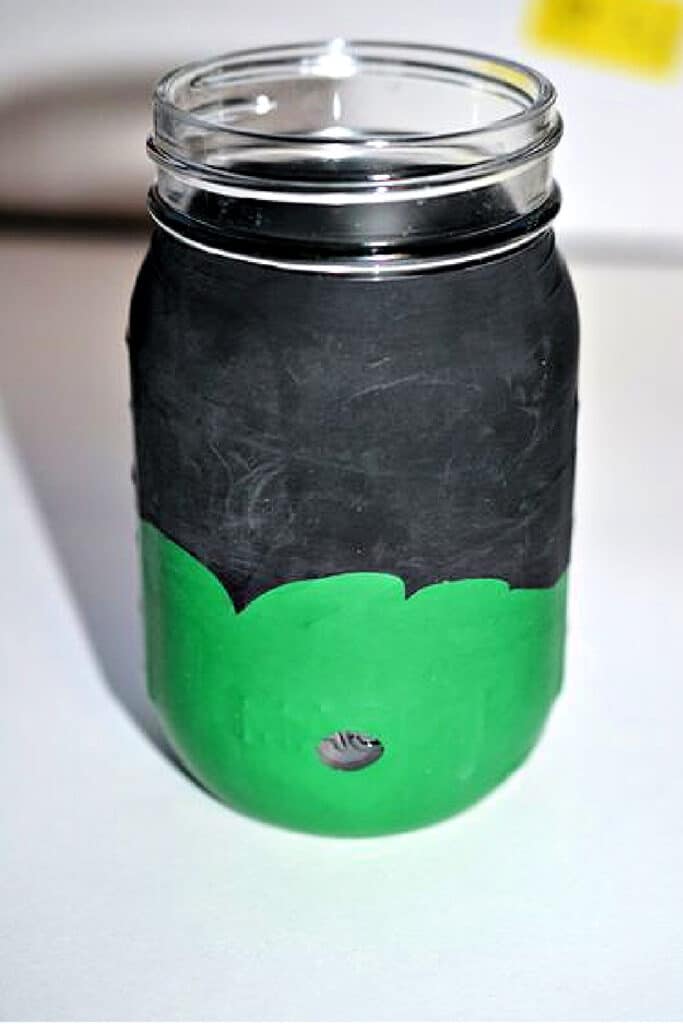
STEP SEVEN: Hot glue two googly eyes onto the green balloon that is currently covering your mason jar. Just a quick tip when gluing. Put a dab of hot glue on the back of each eye, then place it onto the balloon.
This will give it enough cooldown time and will prevent it from melting the balloon.
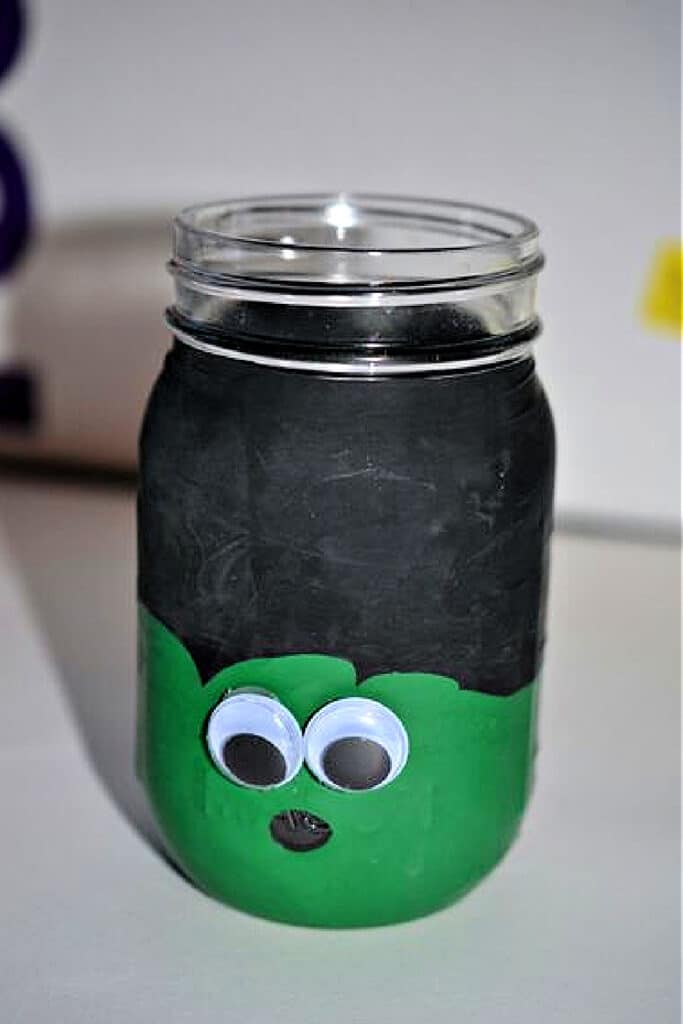
STEP EIGHT: Using a Sharpie, draw on stitches. One creepy stitch will be needed on the same side of the right eye, and another below the mouth to the left.
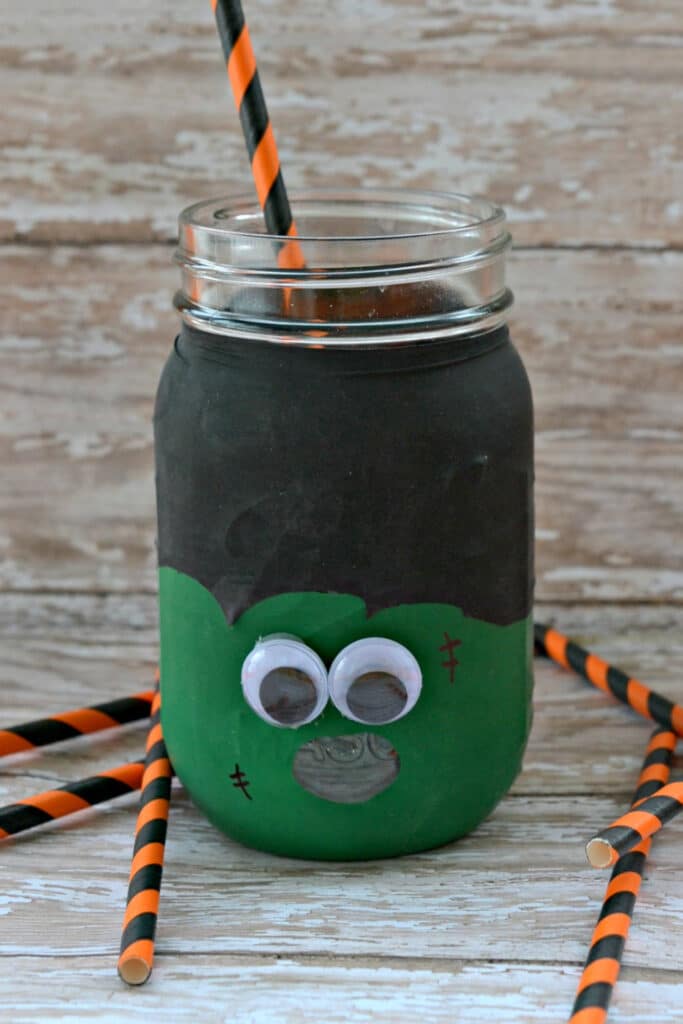
Tips for using your Frankenstein Mason Jar Cups
- You can easily reuse these cups. They are not dishwasher safe. They will need to be gently washed by hand.
Please consider using old mason jars. No need to buy new. - You could make DIY mason jar cups with quart-sized jars as well, as long as your straw is long enough and your balloons are large enough
Other Fall Time Crafts & Treats
Fall Craft: Leaf 3D Glitter Drawings
Making Magical Wands – Upcycled Chops Sticks
This post may contain affiliate links or sponsored content. Disclosure Policy


Wow, these Frankenstein Mason Jar Beverage Cups are absolutely brilliant! It’s amazing how simple yet creative this Halloween craft is. I can already picture them transforming any ordinary Halloween party into an extraordinary and spook-tacular event. With fall in the air and Halloween just around the corner, I can’t wait to gather my friends and have a blast sipping eerie concoctions from these adorable Frankenstein Mason Jars. Thanks for sharing this fantastic idea!
This is such a cute idea!
Wow! So easy and wonderful! Love these Mason Jars! We have to start thinking about Halloween, right?
We just love Halloween so much! Went to Michaels craft store and could not pull the kids away from the Halloween displays. It took every once of my will power not to buy something new. I did it.. and treated myself to an ice cream cone. HA!