The Do’s and Don’ts of Kitchen Cabinet Cleaning
Are your kitchen cabinets dirty with grease and grime? Check out these easy tips to remove grease and build-up from kitchen cabinets.
Don’t Ruin Your Finish! The Crucial Dos and Don’ts of Kitchen Cabinet Cleaning
Chances are you spend a lot of time in your kitchen cleaning. Washing the dishes, scrubbing the stove, wiping down countertops, but how much time do you spend cleaning your kitchen cabinets? Probably not a lot!
Our kitchen cabinets can be overlooked, because well, there are just other cleaning tasks occupying our time. Ideally, it would help if you were cleaning your cabinets once a month. However, it is best to act fast when any food spatter occurs. Leaving it to dry will cause you more work.
The longer you leave this kind of damage in place, the more likely it is that your cabinet doors will discolor. If certain oils get on the hinges, you may even suffer rust. Let’s talk about the do’s and don’ts of cleaning your kitchen cabinets.
Read More Home Keeping Tips & Tricks on Inspiring Savings
Best Degreaser for Kitchen Cabinets
It is important not to use harsh and abrasive cleaners on your kitchen cabinets because you might damage them, especially if your cabinets are painted. Scrubbing too hard will remove the polish and make your cabinets look dull.
You can make a simple and effective, gentle cleaner for your kitchen cabinet with a few pantry items. I have come up with a great cleanser with raving reviews both on Inspiring Savings and on Pinterest.
Click here for that Kitchen Degreaser Recipe.
Removing Tough Spots from Cabinets
If the above mixture doesn’t remove a hard stuck-on spot – time to use a little bit of baking soda. Do use a paste of baking soda and water on any tough-to-clean spots.
Mix the paste and spread it on the tough spots with a clean cloth or your fingers. Let the paste sit for a few minutes, and then wipe it off with a clean cloth. Wipe the area down again with a damp, clean cloth. This is safe for wooden and painted cabinets.
Do Rinse and Dry the Cabinets
Do make sure that you rinse the cleaner and any remaining residue off of the cabinets. Often, when we are cleaning, water will seep into the hinges.
The longer you let moisture sit on your cabinet hinges, the more likely it is that you’ll hasten along the rusting process. Use a damp rag with warm water to wipe down the cabinets. Then take a clean towel and make sure that they are dry.
You can leave your cabinets to air dry once 90% of the water has been wiped off.
Do Clean the Hinges and Hardware
If you are like me, once we are done with a toothbrush, we save them for cleaning! They are perfect for getting into hard-to-reach spots. I also love to use them on our cabinet hinges.
Do not miss any details; take an old toothbrush and make sure that you clean the hinges and hardware on your cabinets. It might surprise you at how well they clean up and how much better the hardware looks.
Don’t get the Cabinets Too Wet
I can’t tell you how many times I think of just hosing off my cabinets. Wouldn’t it be easier? Stuck-on food, greasy fingers, and smudges all drive me crazy. But I know too much water can do more damage than good.
You don’t want to get your cabinets too wet. Too much water can cause your cabinets to warp and bubble. I have had this happen on my cabinet shelves. I accidentally let the water sit too long, and now I have raised areas of swelling.
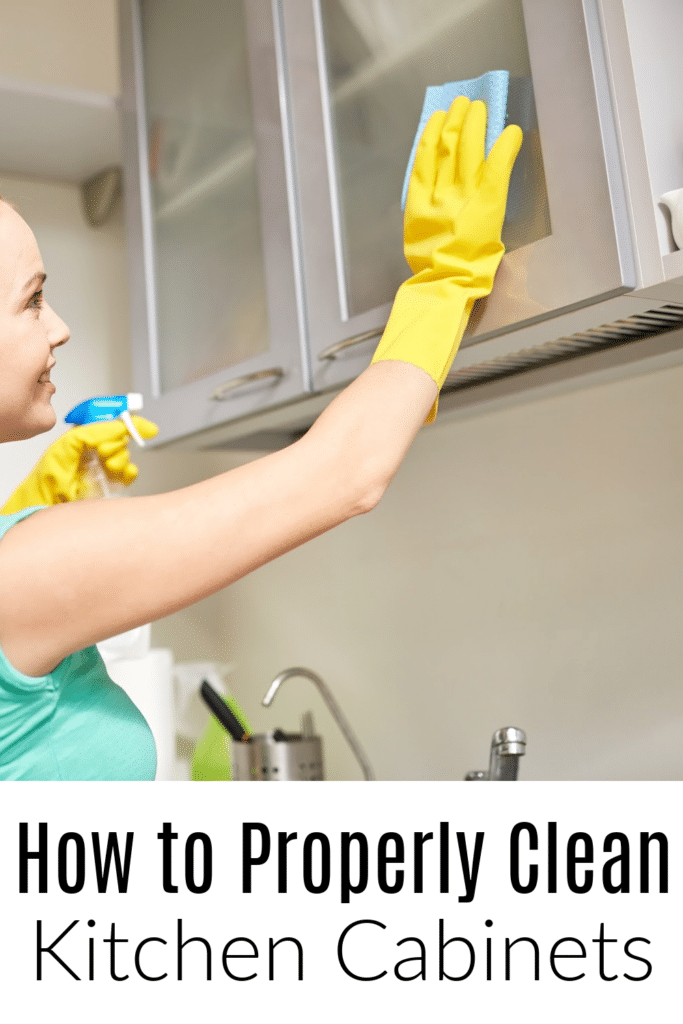
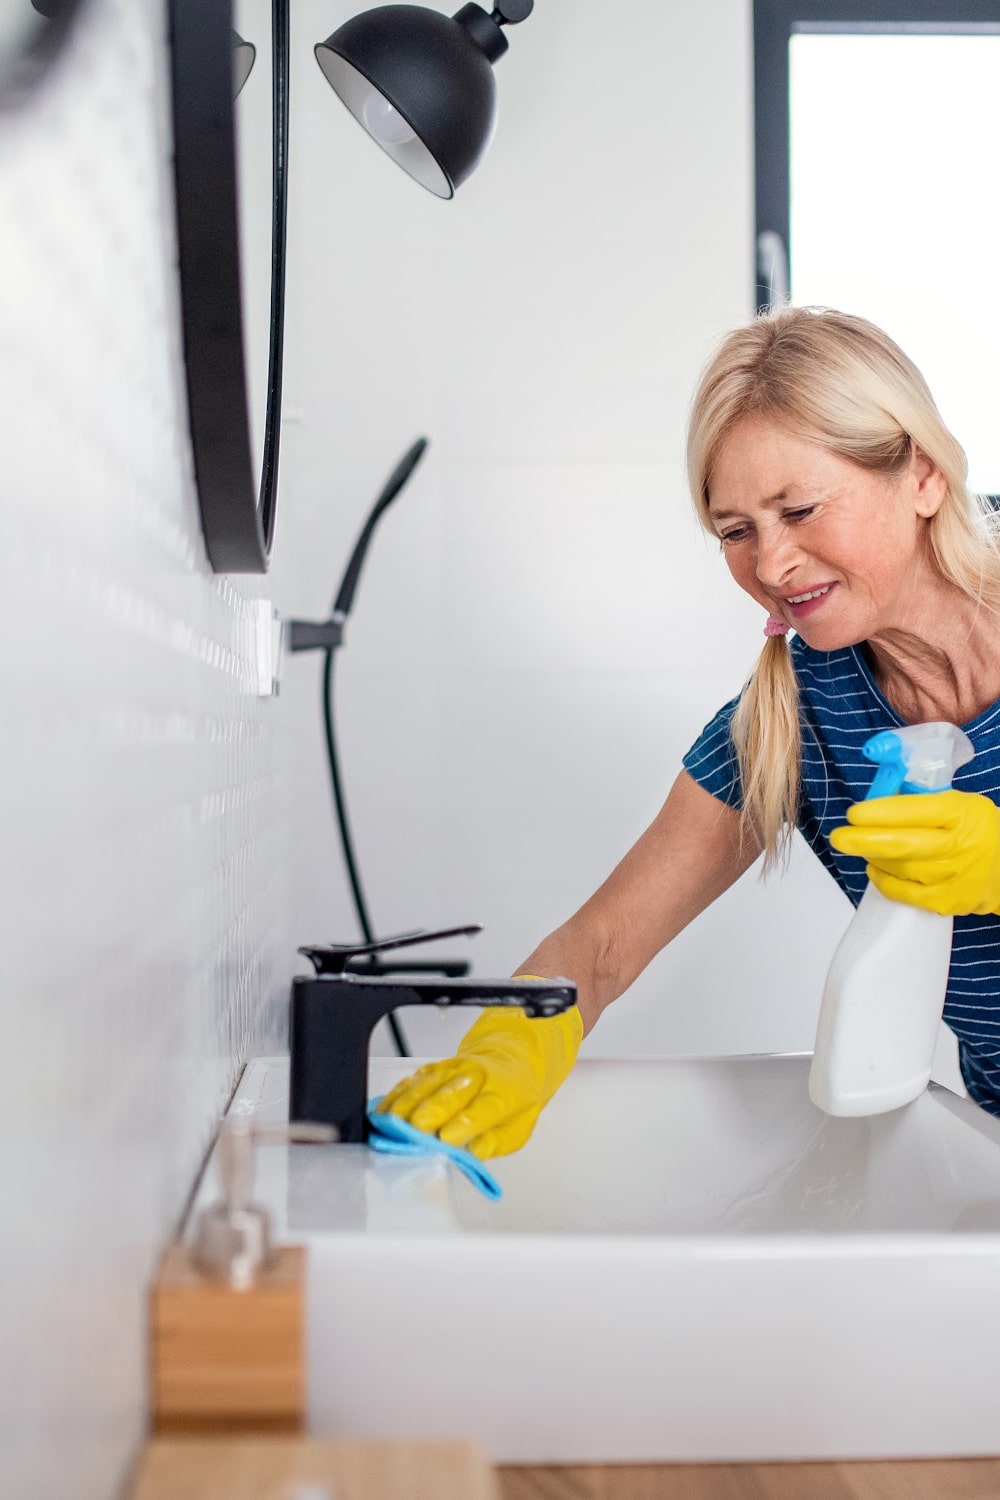
Instead of spraying the cleaner directly on the cabinets, spray it on a microfiber cloth and wipe the cabinets down from top to bottom.
Don’t Let Water Seep into the Hinges
Not only can water cause issues with your cabinets, but it can also cause problems with your hinges. Make sure that you don’t let water from your cleaner seep into the hinges of your cabinets. If it does, make sure that you dry it thoroughly.
You don’t want to let all of this elbow grease and hard work be ruined by rusted hinges. If you currently have rust on your hinges, Lime-Away is a safe and gentle rust remover. It may take a few times before all of it is gone, but it is worth being gentle.
Don’t Forget the Glass
If you have glass-front cabinets, don’t forget to clean the glass as well. You can use your favorite homemade glass cleaner, or you can use a store-bought version. Consider cleaning the glass with old newspaper for a beautiful streak-free finish.
Don’t forget to Deep Clean the Insides
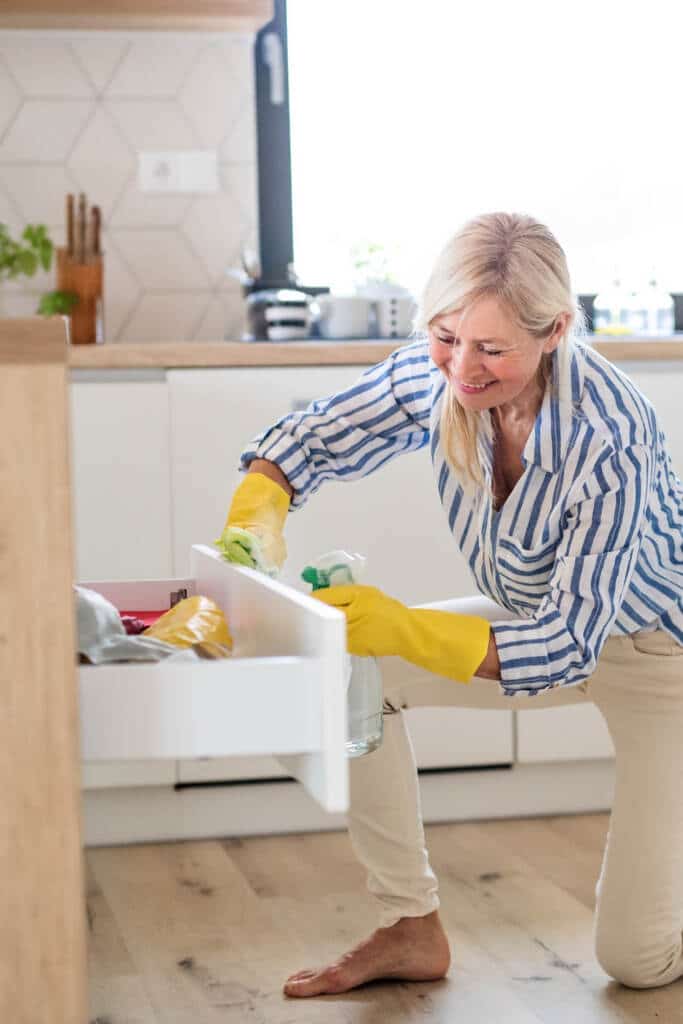
Twice a year you should take everything out of your cabinets and wipe down the inside of them. I know it seems like a lot of work, but often, I find little bits of crumbs.
I don’t want to attract any ants or the possibility of attracting field mice into our home. Before putting things back, get rid of any broken or chipped plates and cups, toss out items you never use, and get rid of storage containers without a lid.
This can help keep your cabinets from getting too cluttered and disorganized and make them more functional for you to use.
More Cleaning Hacks on Inspiring Savings
DIY Guide To Deep Cleaning Your Dishwasher
Dusty Places in your home that you are Probably Forgetting About
5 House Cleaning Apps You Want To Make Your Life Easier
This post may contain affiliate links or sponsored content. Disclosure Policy

