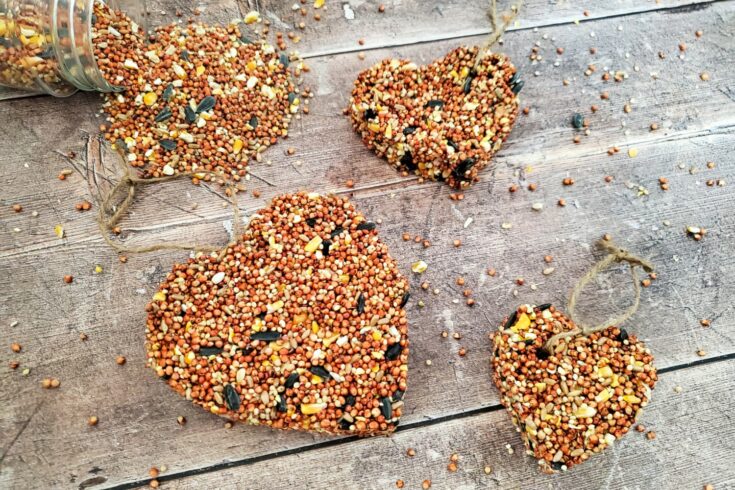
DIY Cookie Cutter Birdseed Ornaments
Birdseed ornaments are a fun, easy project and make great decorations. They are a perfect hands-on activity for your kids and a great way to feed your local birds.
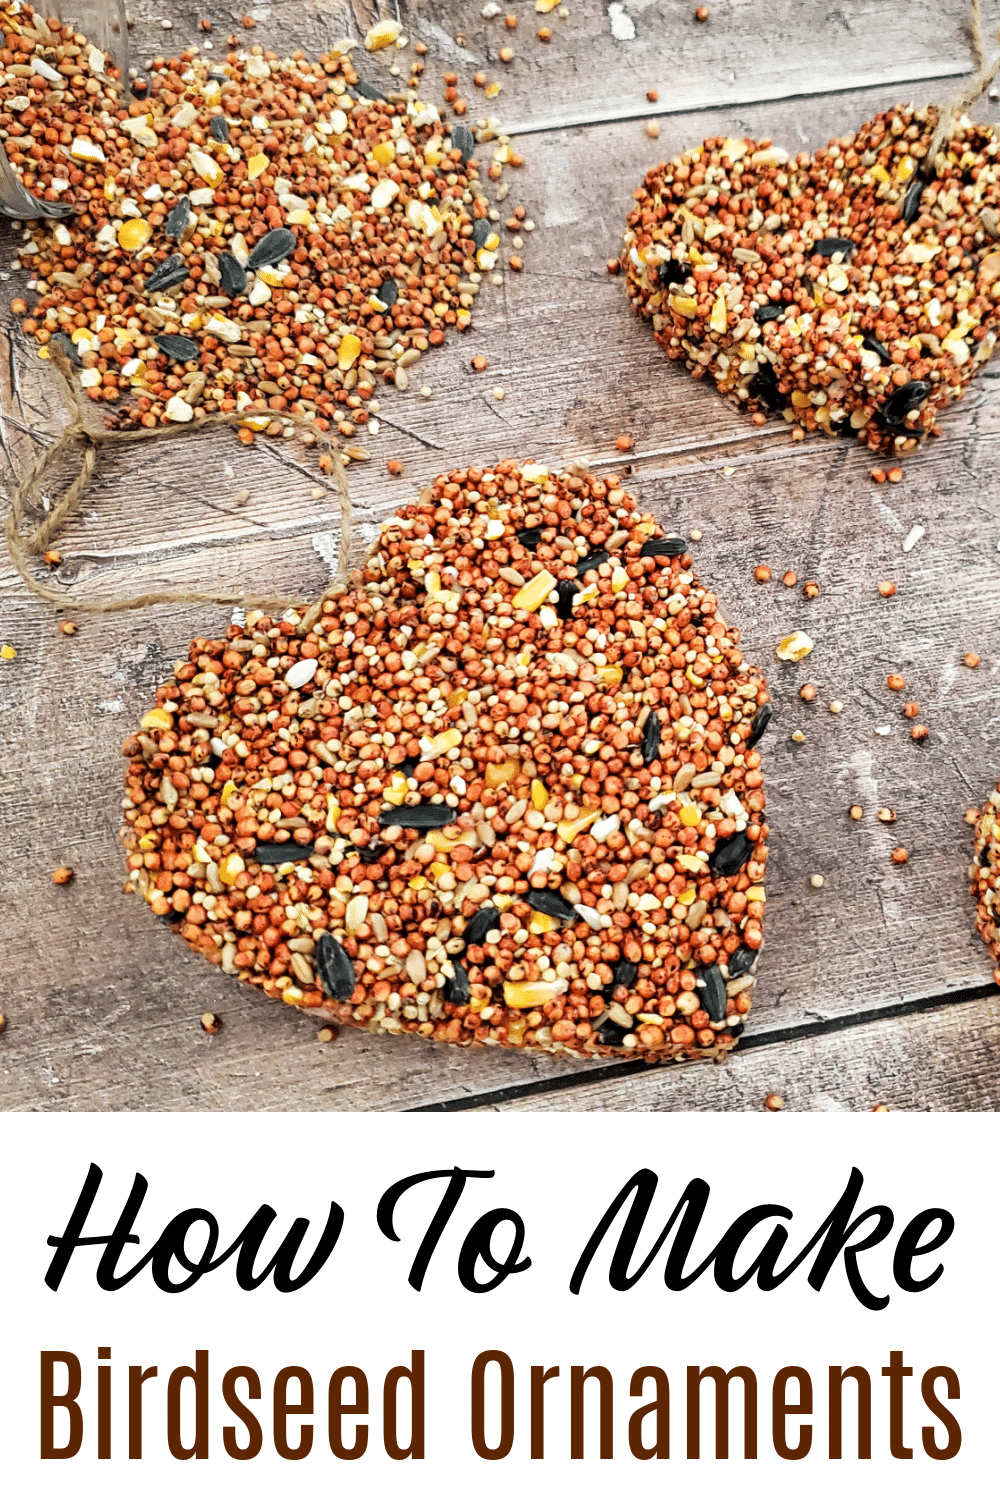
How to Make Birdseed Ornaments
When most people think of Birdseed Ornaments, they think about a crafty winter project for kids. YES! This is a wonderful idea, but wouldn’t it be a good project to do in spring, summer, fall, or winter?
Guaranteed, the birds in your backyard will happily munch on these ornaments. These also make ideal gifts for teachers, neighbors, or coworkers. Our recipe uses just three simple ingredients, has no corn syrup (corn syrup isn’t healthy for birds), and will attract a wide variety of birds to the backyard. They are so much fun to make with kids all year round. Are you ready to get started? I sure am.
And, hey! They aren’t just for the kids to make. These are wonderful treats for your local birds all year long. Other great options include:
-Wrapping ornaments in clear or decorated treat bags to give as gifts.
– Make matching ornaments to hand out as favors (wedding or themed party).
– Instead of adding string, you can make these as suet feeders.
Why Will You Love These Birdseed Suets
- Bring Joy to Your Garden: Watching birds flit around your backyard brings a sense of peace and joy. Your homemade birdseed suets can turn your garden or patio into a lively ecosystem, enhancing the beauty of your outdoor space.
- Cost-Effective: Making your own birdseed suets can be a cost-effective solution compared to purchasing pre-packaged options. Buying ingredients in bulk often saves money, especially if you enjoy birdwatching frequently.
- A Fun Activity: Creating birdseed suets can be a fun and educational activity for families. It’s a wonderful way to connect with nature, teaching children about wildlife while engaging them in a hands-on project.
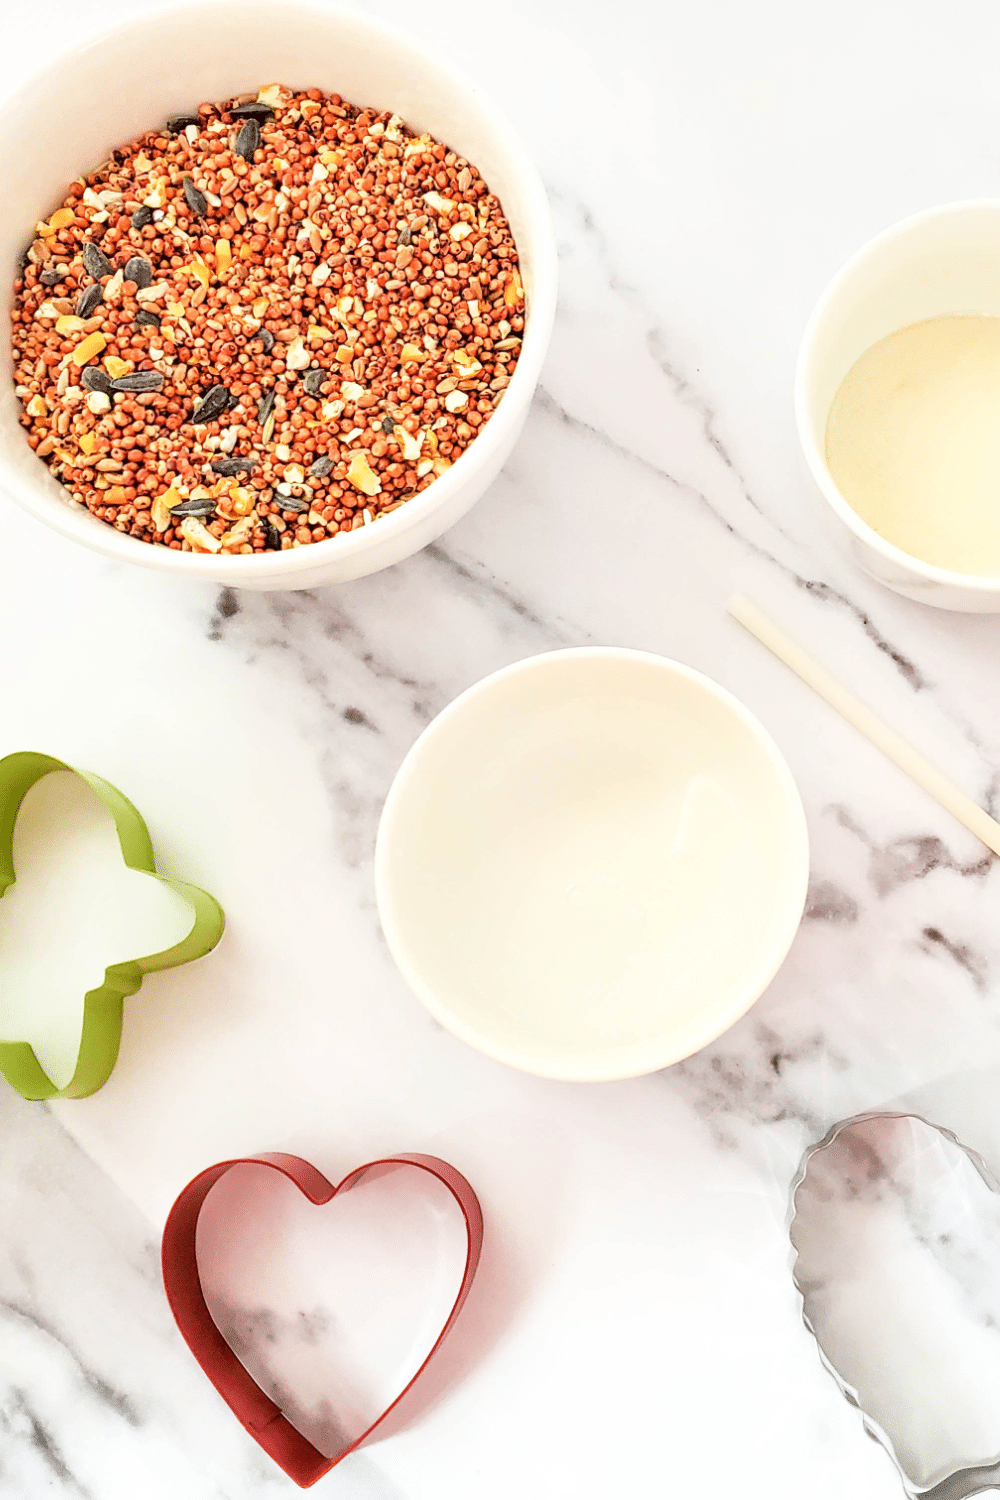
Materials & Supplies Needed
With the following supplies below, expect to make 3-7 ornaments depending on the size of your cookie cutters. The instructions can and supplies needed are at the bottom, just scroll down.
- Birdseed – choose seeds that most appeal to your backyard birds. You want the birdseed to be wet with water when going into the cookie cutters for maximum stick factor once dried, and prepping individual batches takes just a minute or two.
- Unflavored gelatin – This is the “glue” that will hold your birdseed suet together. I recommend using a 2 quart, non-stick pan to cook your gelatin.
- Assorted cookie cutters, straws and twine – Are the instruments that will help shape your birdseed suet. Make sure your cookie cutter are at least1 inch thick. They can be plastic or metal.
- Vegetable spray – will keep the birdseed mixture from sticking to the cookie cutters. Make sure you spray generously.
Instructions to Create Birdseed Ornaments
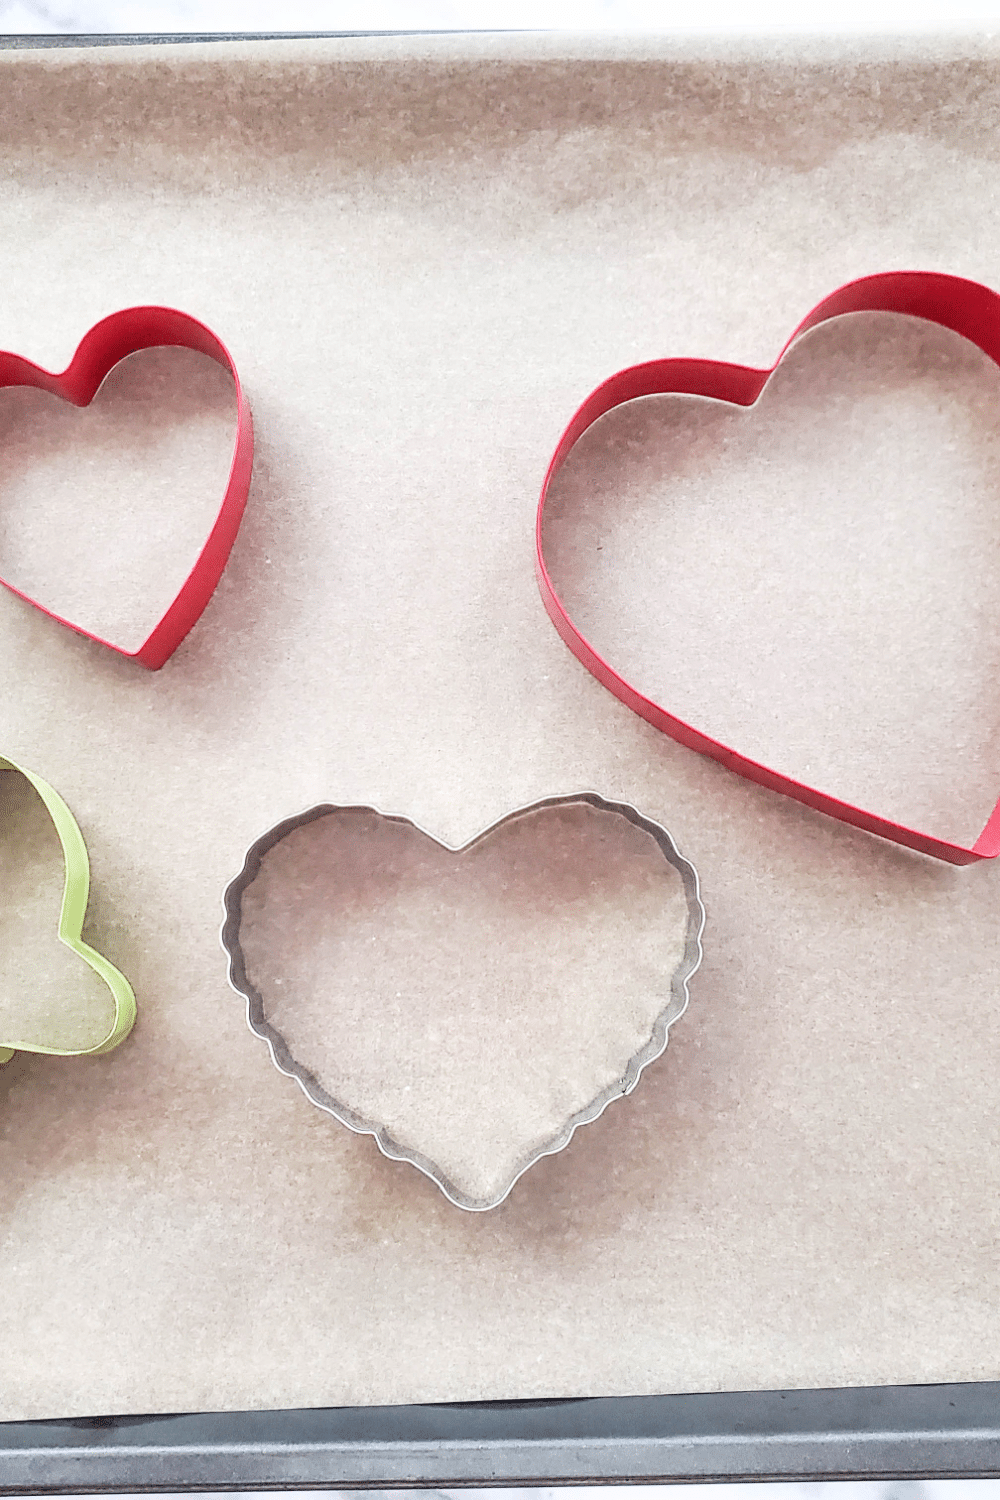
Preparing your Work Station
First, it is important to prepare your ornament-making station by lining a baking sheet with parchment paper. I would also pre-cut the string/twine for hanging the ornaments.
Make them at least 5 inches in length and no longer than 8 inches. After picking out your favorite cookie cutters (ensuring they are 1 inch in thickness), arrange your cookie cutters on the parchment paper.
Then spray each cutter with vegetable spray. This will ensure the ornaments will release from the molds easily, so coat the insides thoroughly to prevent any sticking. Don’t forget to spray into any tight spaces.
One area missed could create a break and mess up your shape.
Boil liquid ingredients
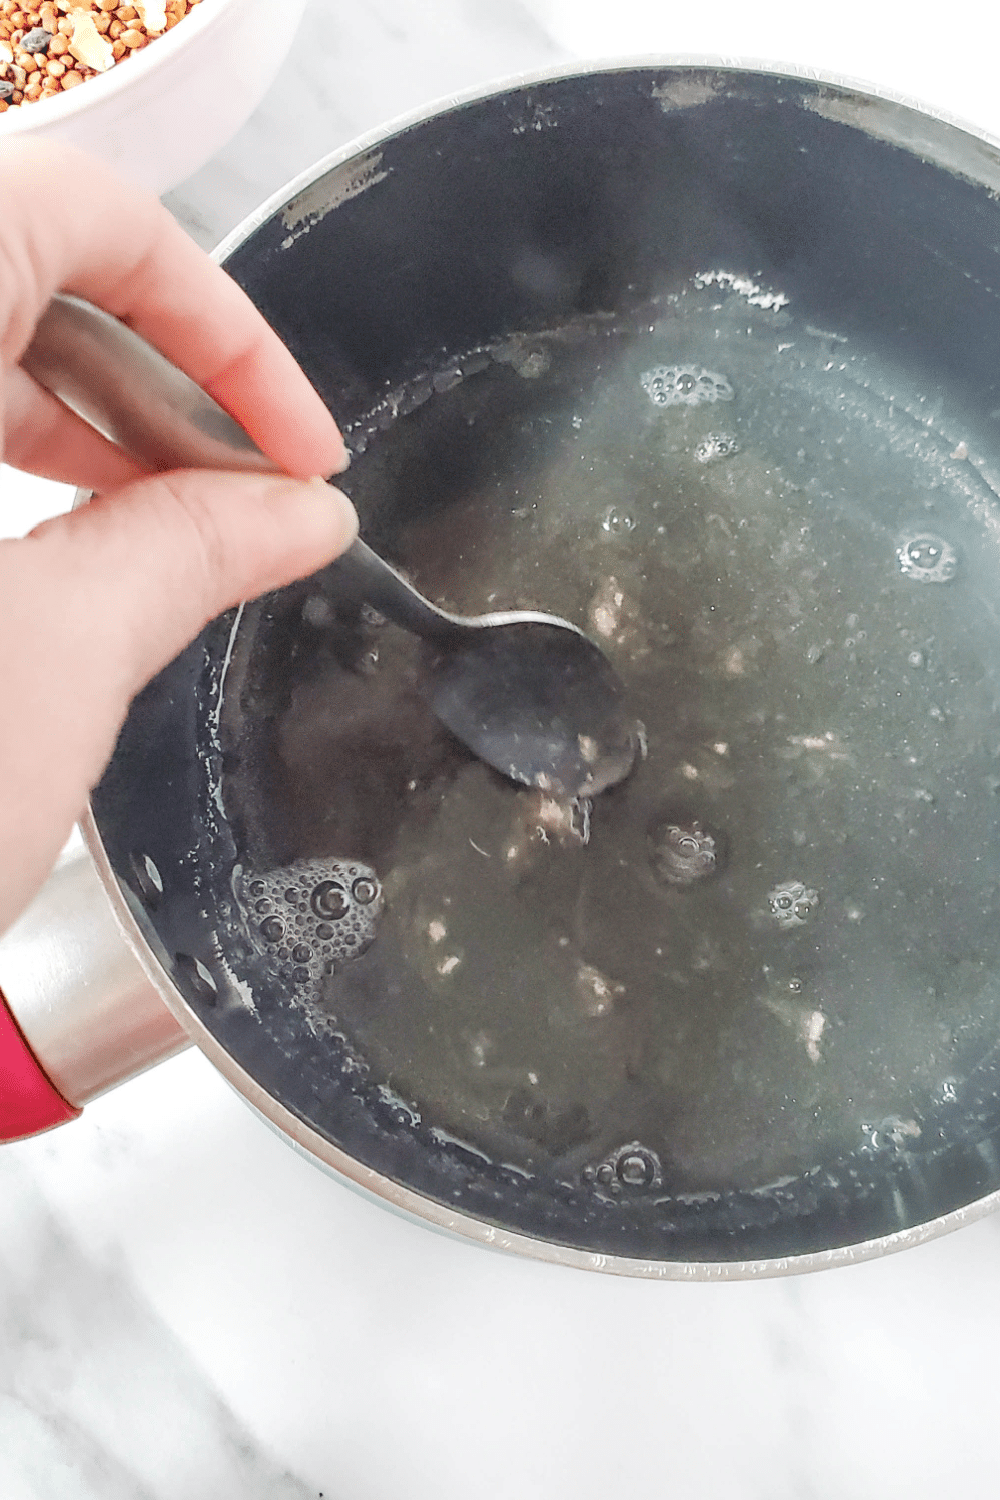
Now it is time to boil your liquid ingredients together.
Add the water to your 2-quart saucepan and bring to a boil over high heat. Remove from heat, and pour in the gelatin. Stir until dissolved. Clumps may appear but will gradually vanish as you continue to stir.

Add in Birdseed
Now you are ready to add in the birdseed. Stir in 2 cups of birdseed until it is all coated in the liquid gelatin mixture.
This will be a thick, stiff mixture, but it is important to blend it well, otherwise, the ornaments will not hold their shapes.
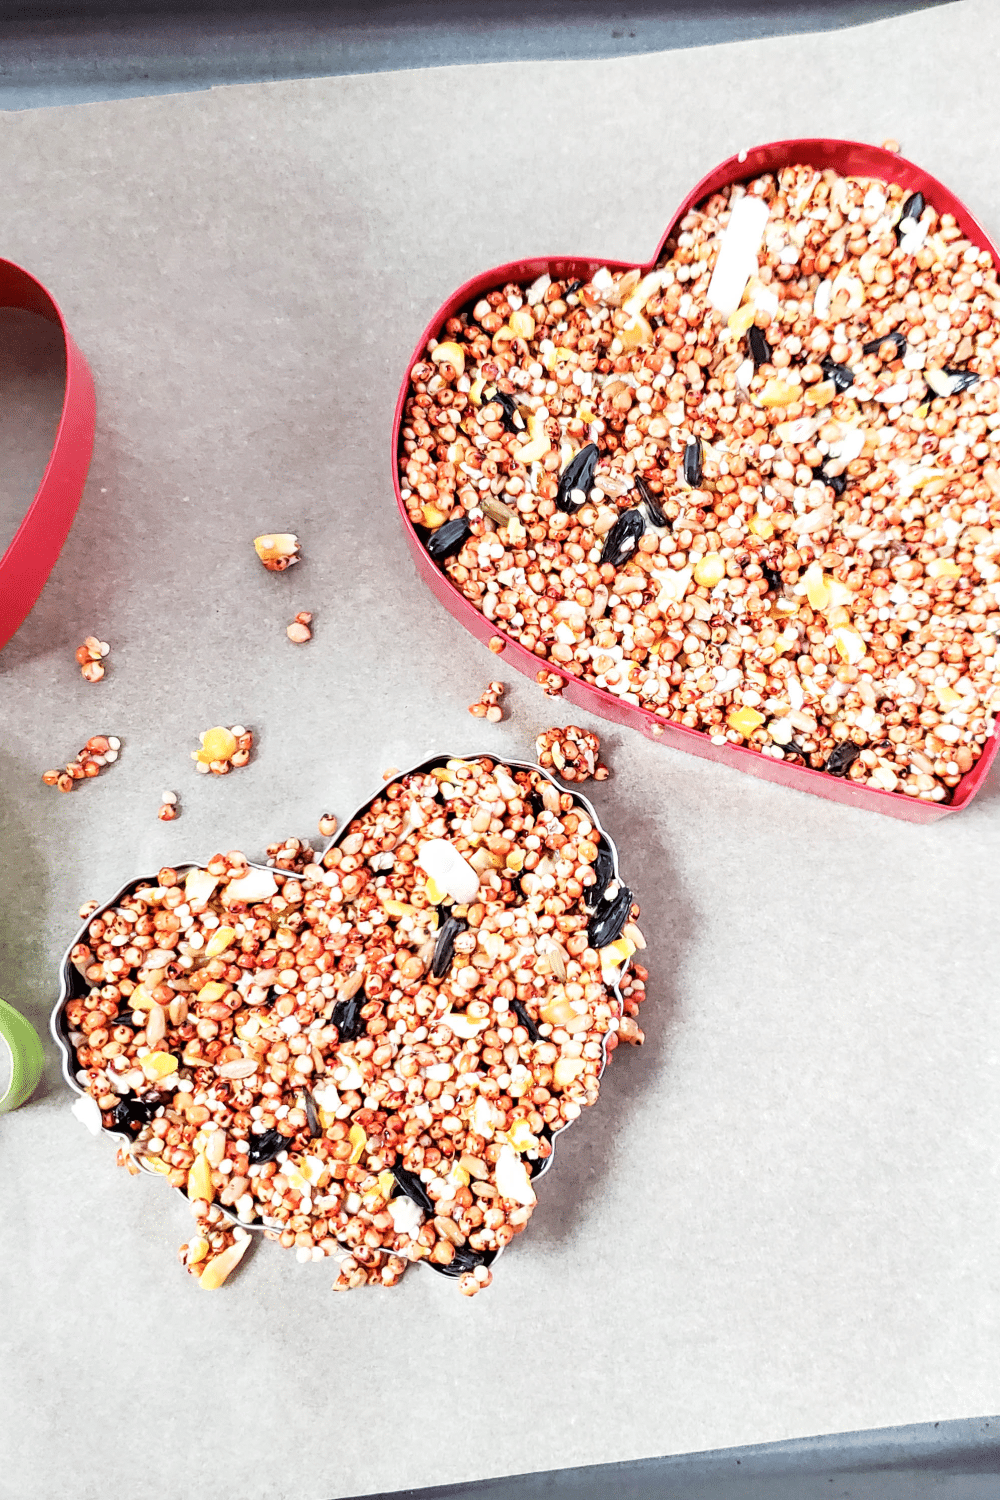
Press into Cookie Cutters
Spray a spatial or spoon with vegetable oil. Fill each cookie cutter to the brim with the birdseed mix. Press it into every corner of the mold as firmly as possible, as any loose seed will fall apart more easily. Using the back of the spoon, pack the bird seed down into the cookie cutter.
Next, create a small hole for your twine. by poking a hole in the top of your ornament with a straw and leaving it in place. I would suggest cutting your straw into halves.
This way the eight of the straw doesn’t create too big of a hole. It is important to give yourself at least ½ inch from the top. This will help give it stability. Let them dry for at least 6 to 8 hours, but preferably overnight or for a full day if possible. The longer the better.

Creating a Loop to Hang Ornaments
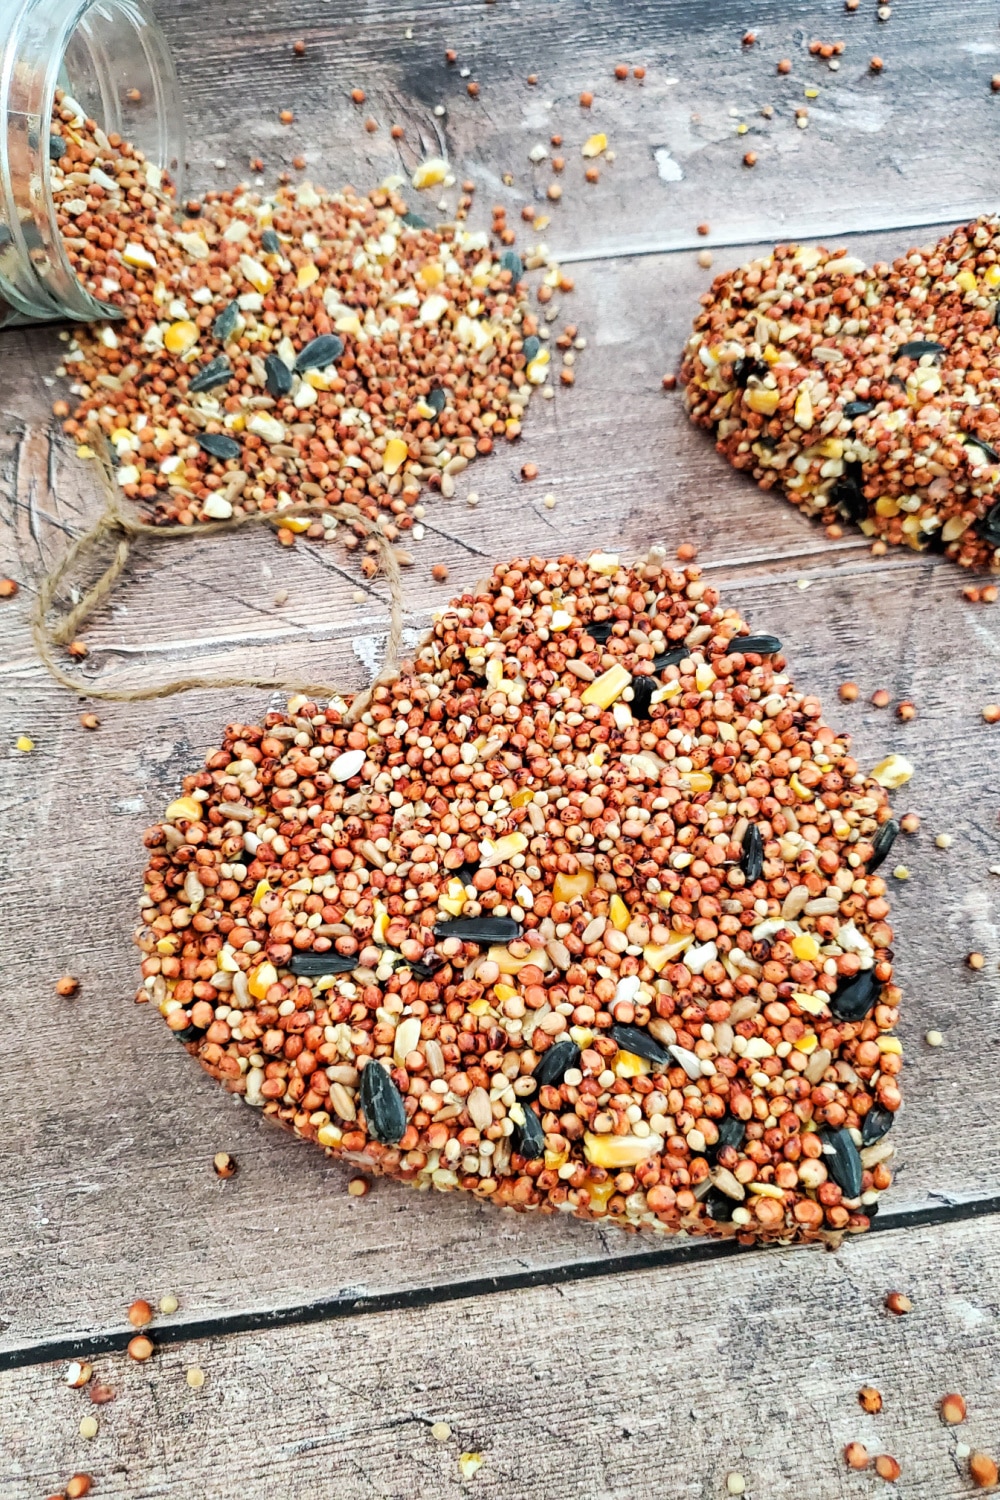
Carefully remove the straws and the cookie cutters. Loop twine through the hole made from the straw, tie in a double knot, then make another double knot near the ends of the twine.
Hang your ornaments from tree branches, and enjoy watching the birds peck away! If you have any leftovers that did not make it into ornaments, you can hand-roll them into balls and place them outside for the birds.
Don’t worry, they will find them and enjoy them!
Other Great Crafts For Kids
Edible Play Dough – Easy, FUN & Yummy!
Paper Cup Hanging Seedling Planter
Painted Rock Outdoor Tic Tac Toe Set
How to Make DIY Cookie Cutter Ornaments
Birdseed ornaments are a fun, easy project and make great decorations. They are a perfect hands-on activity for your kids and a great way to feed your local birds.
Materials
- 2 cups birdseed
- 2 (.25 oz) packets of unflavored gelatin
- ½ cup water
- Assorted cookie cutters
- Straws, cut to 1.5 inch lengths
- Twine
Tools
- 2-quart sauce pan
- Spatula
Instructions
- Line a baking sheet with parchment paper.
- Arrange your cookie cutters on the parchment paper. Spray them each with vegetable spray
- Add the water to a small saucepan, and bring to a boil over high heat.
- Remove from heat, and pour in the gelatin. Stir until dissolved.
- Add the birdseed, and stir until it is all coated in the liquid gelatin mixture.
- Spoon the mixture into the cookie cutters.
- Add a straw near the top, at least ½ inch from the top.
- Using the back of the spoon, pack the birdseed down into the cookie cutter.
- Allow to set overnight.
- Carefully remove the straws and the cookie cutters. Loop twine through the hole made from the straw, and tie in a double knot, then make another double knot near the ends of the twine.
- Hang your ornaments from tree branches, and enjoy watching the birds peck away
This post may contain affiliate links or sponsored content. Disclosure Policy