Homemade Flubber Slime Recipe for Kids
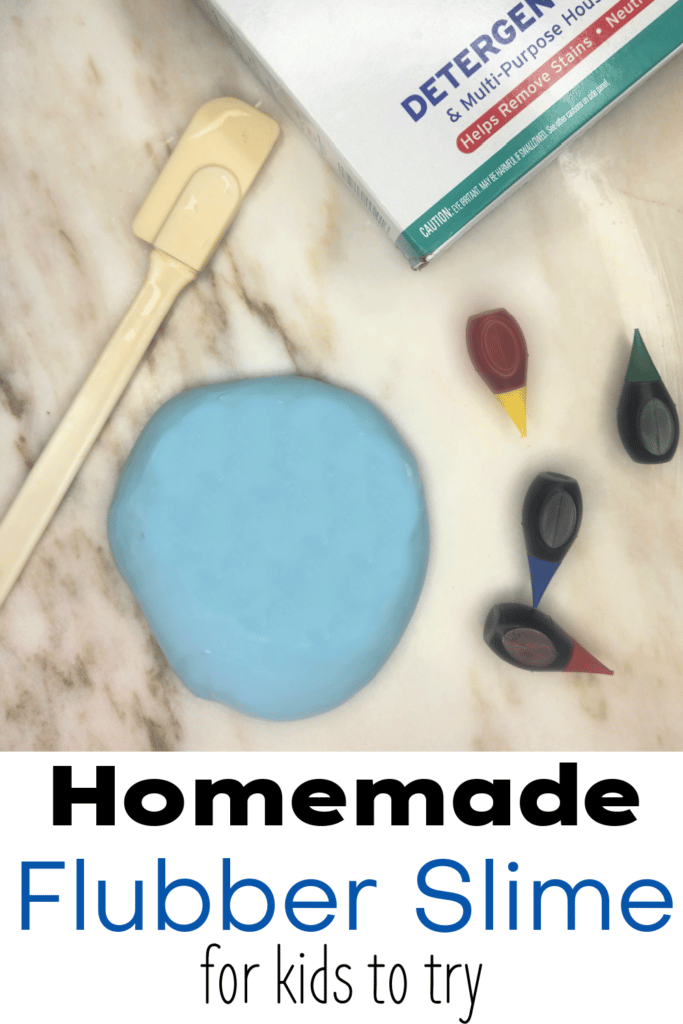
Easy homemade flubber recipe for kids, which uses only a few commonly found household ingredients. You can make your own Gak, Slime, or Flubber, by following this simple recipe!!
Make Homemade Flubber Slime for Kids
Flubber is an incredibly easy and gooey kids’ craft project that kids will love! Buying flubber from the store can be costly, and I found that it doesn’t last long at all.
Coming up with a fun way to make this homemade flubber at home as a weekend kids’ craft was ideal! It is so EASY and literally takes a few minutes to make. The bonus for moms – it provides HOURS (and I’m not even joking!), HOURS of entertainment!!
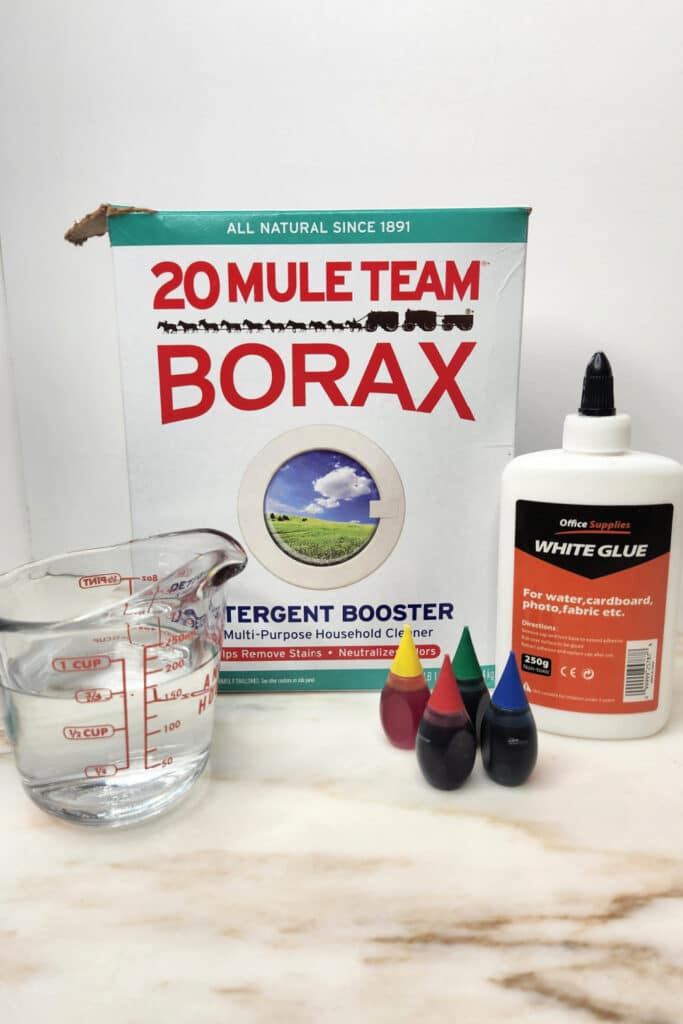
The secret ingredient you’ll need to pick up at the grocery store for this project is Borax, which is a laundry soap additive. You can find it in the laundry soap section of your local grocery store. That is where I usually purchase it.
In case you didn’t know, there are numerous things you can use Borax for. You will want to read this article; 18 AWESOME Uses for Borax – Cheap Alternative, Plus Frugal Craft Ideas
Recommended age: 5+ years old or sensible enough not to eat
Why will you love making this homemade flubber slime kids’ craft?
- It isn’t too messy.
- Kids love it because it is fun to play with.
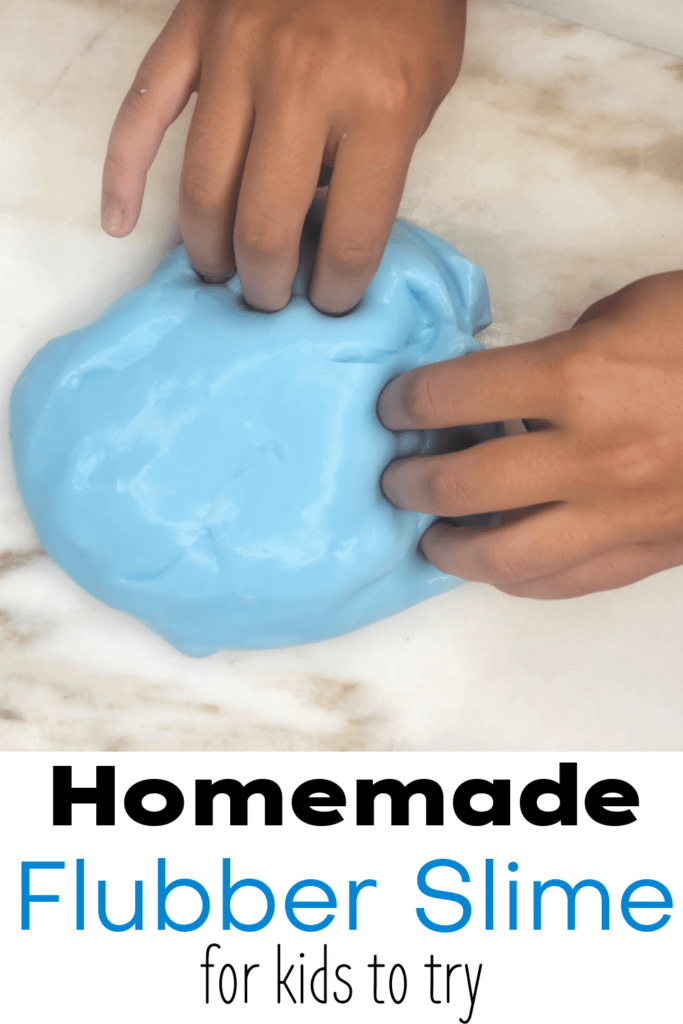
- It’s a great educational kids’ craft and science experiment -is it solid or liquid?
- It can be personalized with colors and extras can be added in for sensory play, like glitter and small toys.
- As my daughter would say, “it is satisfying”.
What is flubber?
If you watched The Absent-Minded Professor growing up, don’t expect this flubber to be a source of anti-gravity. Instead, expect stretchy and oeey fun. Flubber is actually super thick, super stretchy, super strong slime!
Slime is fascinating and the reaction between the ingredients is what makes the slime form. All in all, you are watching and creating a science experiment.
Making flubber can be easy, but it can also be a bust. Below are the instructions to make, I have added a troubleshooting section. All from past mistakes we have made.
Supplies Needed for Flubber Slime Recipe
- 2 tsps Borax Detergent Booster
- 8 oz White School Glue – Elmer’s works best (see troubleshooting tips)
- Food Coloring or glitter
- 1 1/4 cups of water – will be separated
Directions to Make Homemade Flubber
First, it is important to wash your hands before beginning and after playing with the flubber. Some have reported sensitivity to slime-containing borax. We have never had any reactions, but you must decide what is best for your situation.
To begin, you will need two separate bowls to make each of the following mixes separately. No worries you will be combining them later.
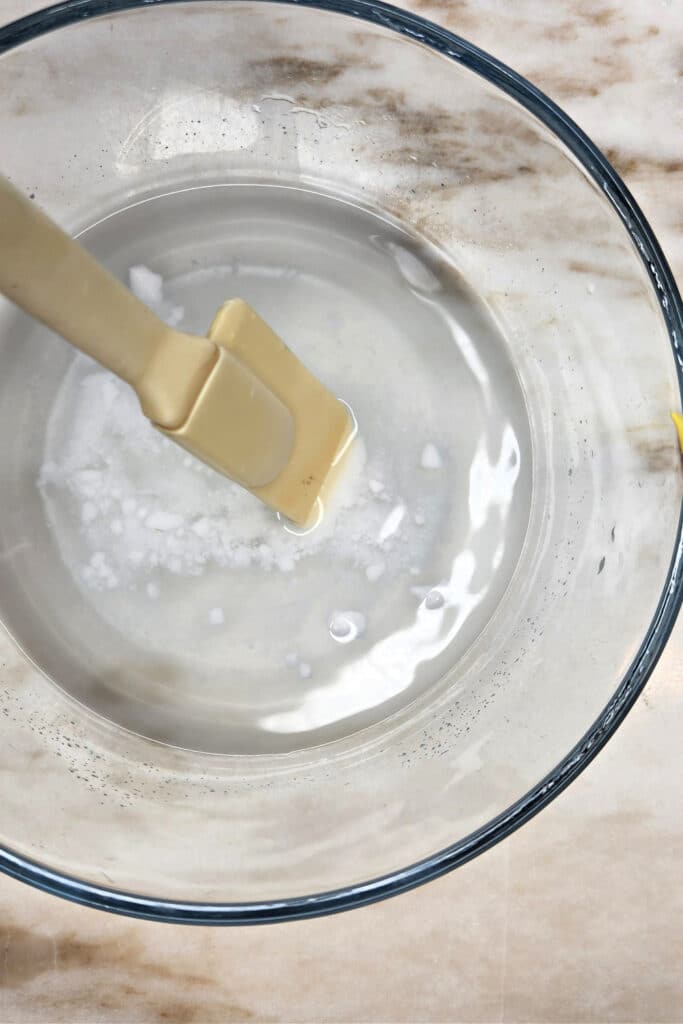
Mix 1 – Creating the activator
- 2 tsp. Borax
- 1/2 cup warm water
STEP 1: Mix warm water (not cold) and Borax powder together.
STEP 2: Combine until the solution is clear. This should take just a minute or so and can be done with a spoon or wire whisk. Then set aside.
Mix 2
- 3/4 cup cold water
- 8 oz Multiple Purpose School Glue (standard size bottle)
- Food Coloring or glitter
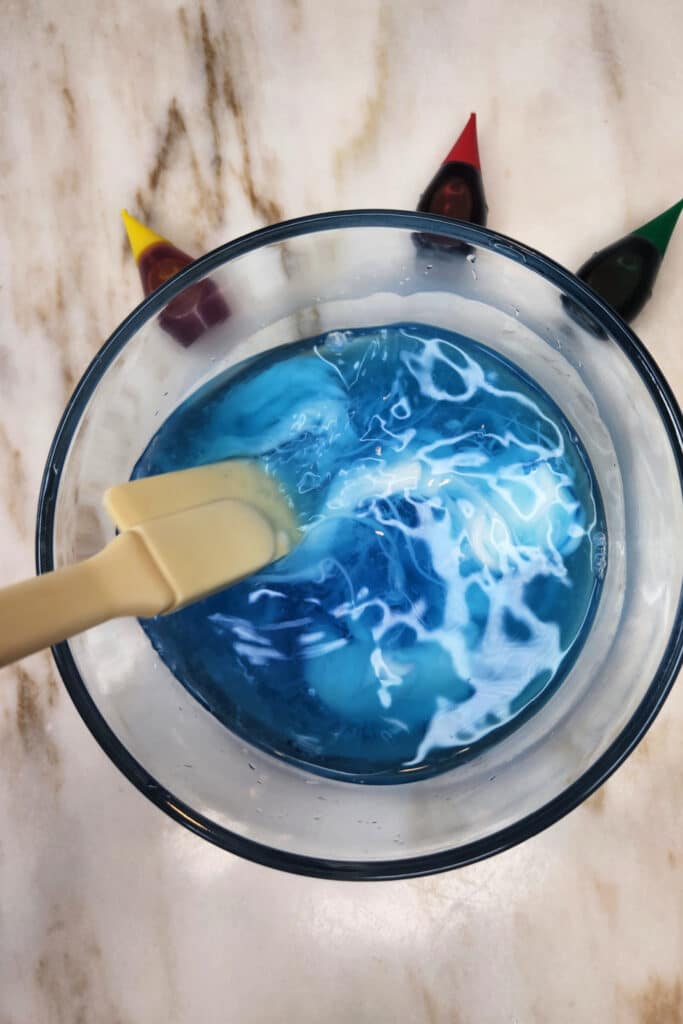
STEP 1: Mix glue and water together in a container. Stir until it is well combined and a smooth consistency. Now is the perfect time to mix in color or glitter.
STEP 2: Once everything is incorporated well. It is time to slowly add in the activator mix. Spoon in one tablespoon at a time, mixing frequently until it starts to pull away from the bowl.
Too much activator will create a flubber that falls apart into pieces instead of stretchy and pliable.
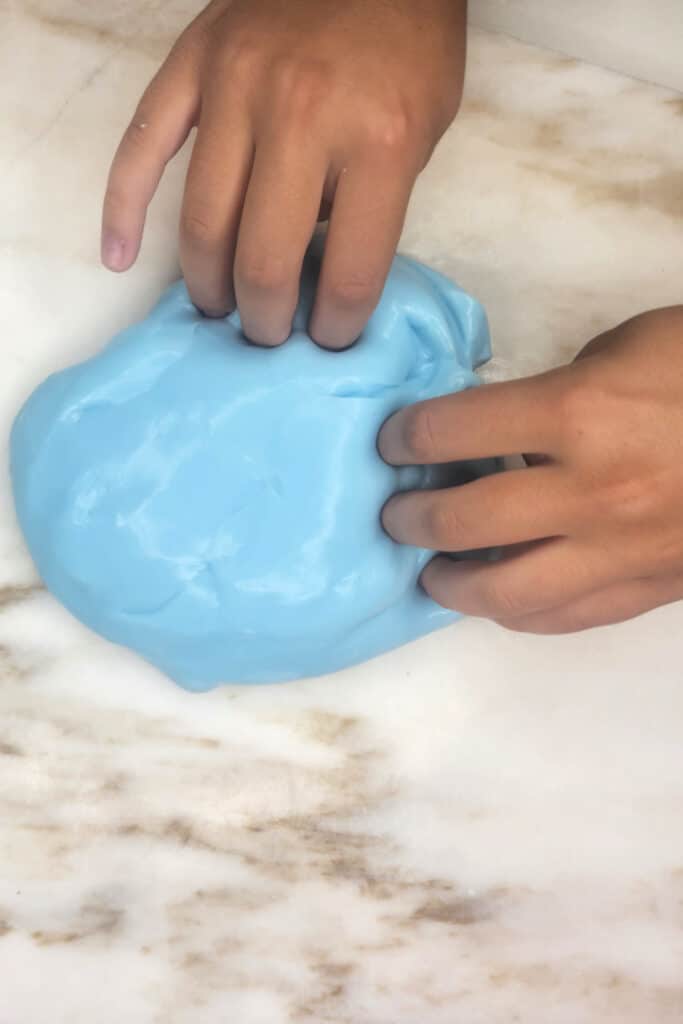
STEP 3: Switch to using your hands to combine the ingredients well. Keep mixing the flubber for a few minutes and kneading it well.
The science behind this recipe – When borax is combined with the PVA in the school glue, it creates a polymer. A polymer is composed of very large chains of molecules that are composed of repeating units known as monomers.
When enough polymer molecules get hooked together in the right way, the glue solution changes from being very liquidy to a rubbery kind of stuff that we call slime!
Please remember to tell your kids that homemade flubber slime is not food and should not be tasted.
How to Store Your Flubber Slime
To make sure your homemade flubber lasts longer, make sure your kids have clean hands before playing with it. This will keep dirt and germs out of it, and make it last a lot longer for future days of play.
The shelf life of the homemade flubber kids’ craft is around 3 weeks.
After that, you’ll want to throw it out and create a new batch to play with. During the 3 weeks that you store the flubber, make sure to keep your flubber in an airtight container, or a Ziploc baggie.
You’ll also want to note that flubber slime should be tossed in the garbage and not poured down the sink or down a drain.
Making kids craft ideas like this homemade flubber is a great way to include education in playtime.
With so many fun colors you can make, it is also a fun craft idea that would work for any birthday party, or even a sleepover with the kids! Add some drops of glow-in-the-dark paint and use it to decorate around Halloween!
The possibilities with this fun homemade flubber slime kids’ craft are endless!
Trouble Shooting Tips Common Slime Issues
- If your slime breaks – It is hard to reverse, but you can try adding in more water or using hand lotion to help to make it more pliable.
- Slime is too slimy – It may not be mixed well enough. Give it a good stir or knead it more by hand. 9 times out of 10, it will come together if you keep mixing it and kneading it.
- Always use school glue (Elmer’s glue) – If you opt to purchase glitter glue, the amount of water add-in will create a soupy slime and the texture will not be what you want. Stick with what works – school glue!
More Kids Craft Ideas From Inspiring Savings
DIY Monster Bookmarks Made With Popsicle Sticks
This post may contain affiliate links or sponsored content. Disclosure Policy


How much does 1 batch make? My daughter is going to make this for her Market Day at school and she needs enough for 20 individual baggies. Thanks!
Hi Tawnya, Perfect item for her market day. From what I recall (I really should make this again), I stored it in a 16 oz container and it filled it to the top. I am not sure how much you want to provide for each child, but I would feel comfortable saying you will most likely need to make two batches for 20 individual baggies.
Perfect! Thank you so much!!
You’re very welcome!
You can also add it to balloons for fun homemade stressballs. We have fun making them!
GREAT IDEA!!!!! We could all use a little stress relief 🙂
We just did this, this weekend. And it’s easier to get out of clothes/fabric then playdoh or silly putty!
So glad to hear. We had fun making it too. : )