
Easy Steps to Freeze Fresh Vegetables – Preserving Your Harvest
Freezing vegetables preserves the taste of your summer garden for enjoyment all winter long. Here are some directions to Freeze Fresh vegetables.
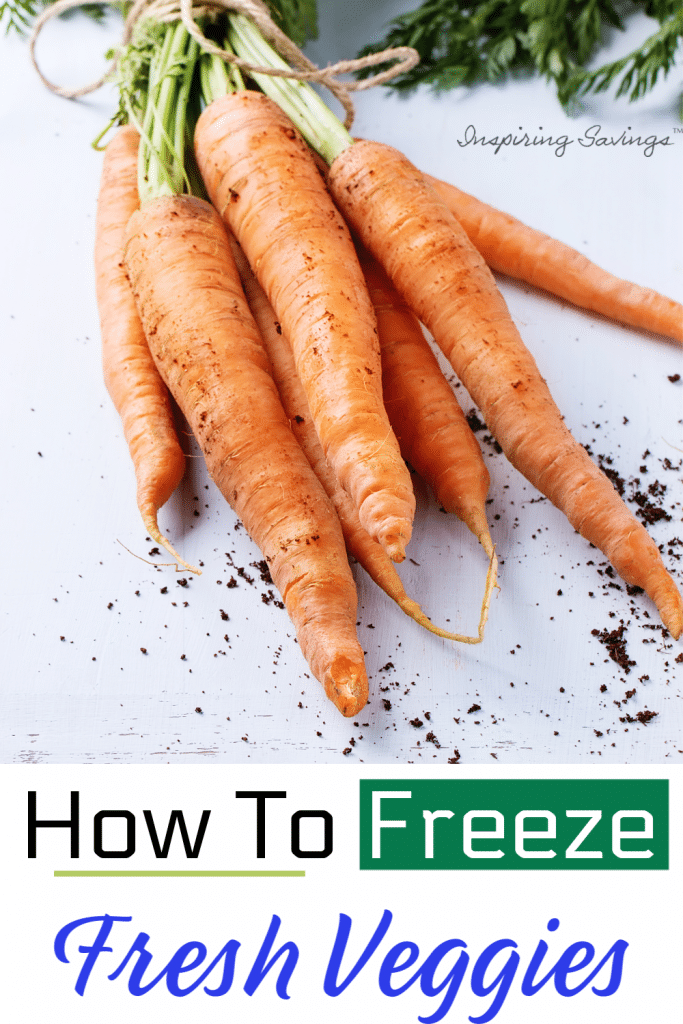
We’re getting to that part of the year when gardens are bursting with produce! Learn how to freeze fresh vegetables to enjoy the goodness all year long.
Whether you’re the recipient of a neighbor’s generosity, you’re growing your own, or a shareholder in a CSA, there always seems to be a little more than you can use in a given amount of time. You make the best of the season by putting it away for the winter.
Freezing, by far, is the best way to preserve produce’s truest taste. Canning and pickling are not without their merits, but in most cases require additional ingredients, jars, time, and sometimes complex processing instructions.
While our first instinct is to bag and freeze, taking a few extra steps will make your produce tastier and crisper when used later. And help with meal planning later on.
Easy Steps to Freeze Fresh Vegetables
Freezer Cooking
Freezer cooking is a great idea that helps save time & money. You prep meals in bulk, freeze them, and reheat them when needed. Here are my best tips and tricks today to have your freezer cooking like a pro in no time!
You can read more about how to Freezer Cook Like a Pro! – And Easy Tips To Get Started.
Steps to Freeze Fresh Vegetables
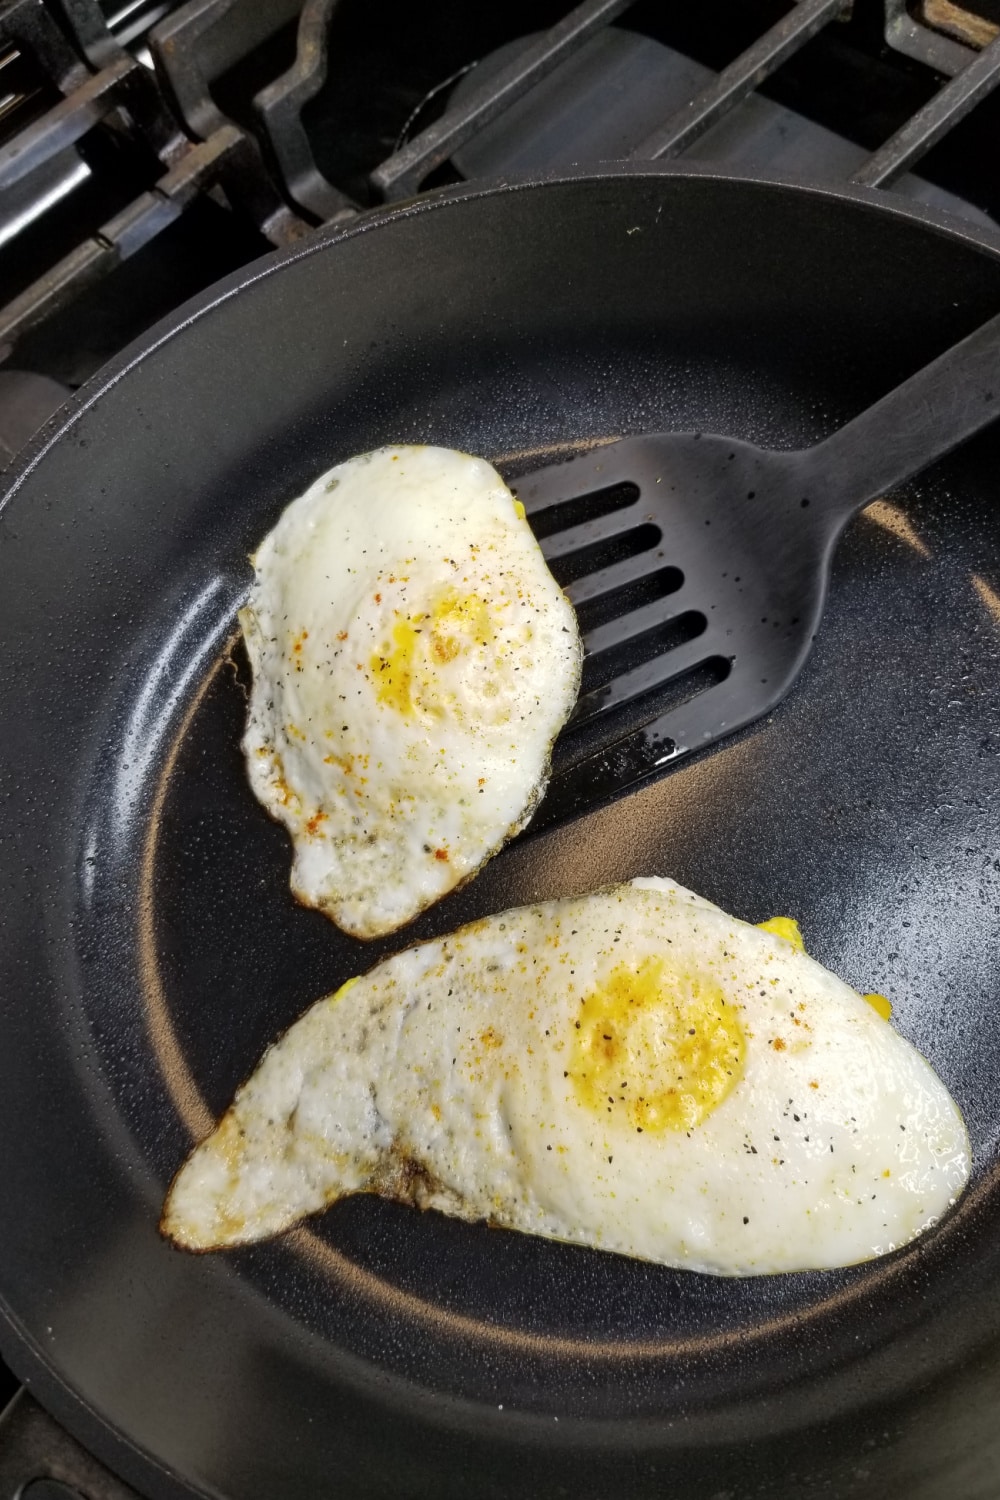
STEP ONE: First, assemble your materials: You will need a sharp paring knife, quality freezer bags, a large pot, a sieve, and ice water.
STEP TWO: Now you can prepare your vegetables for blanching. Blanching is kind of a “quick cook”. It keeps your vegetables from becoming stiff or stringy after being frozen. Clean your produce thoroughly and trim off any tough pieces, stems, or leaves you don’t want (and put them aside! You can make beautiful vegetable stock afterward!).
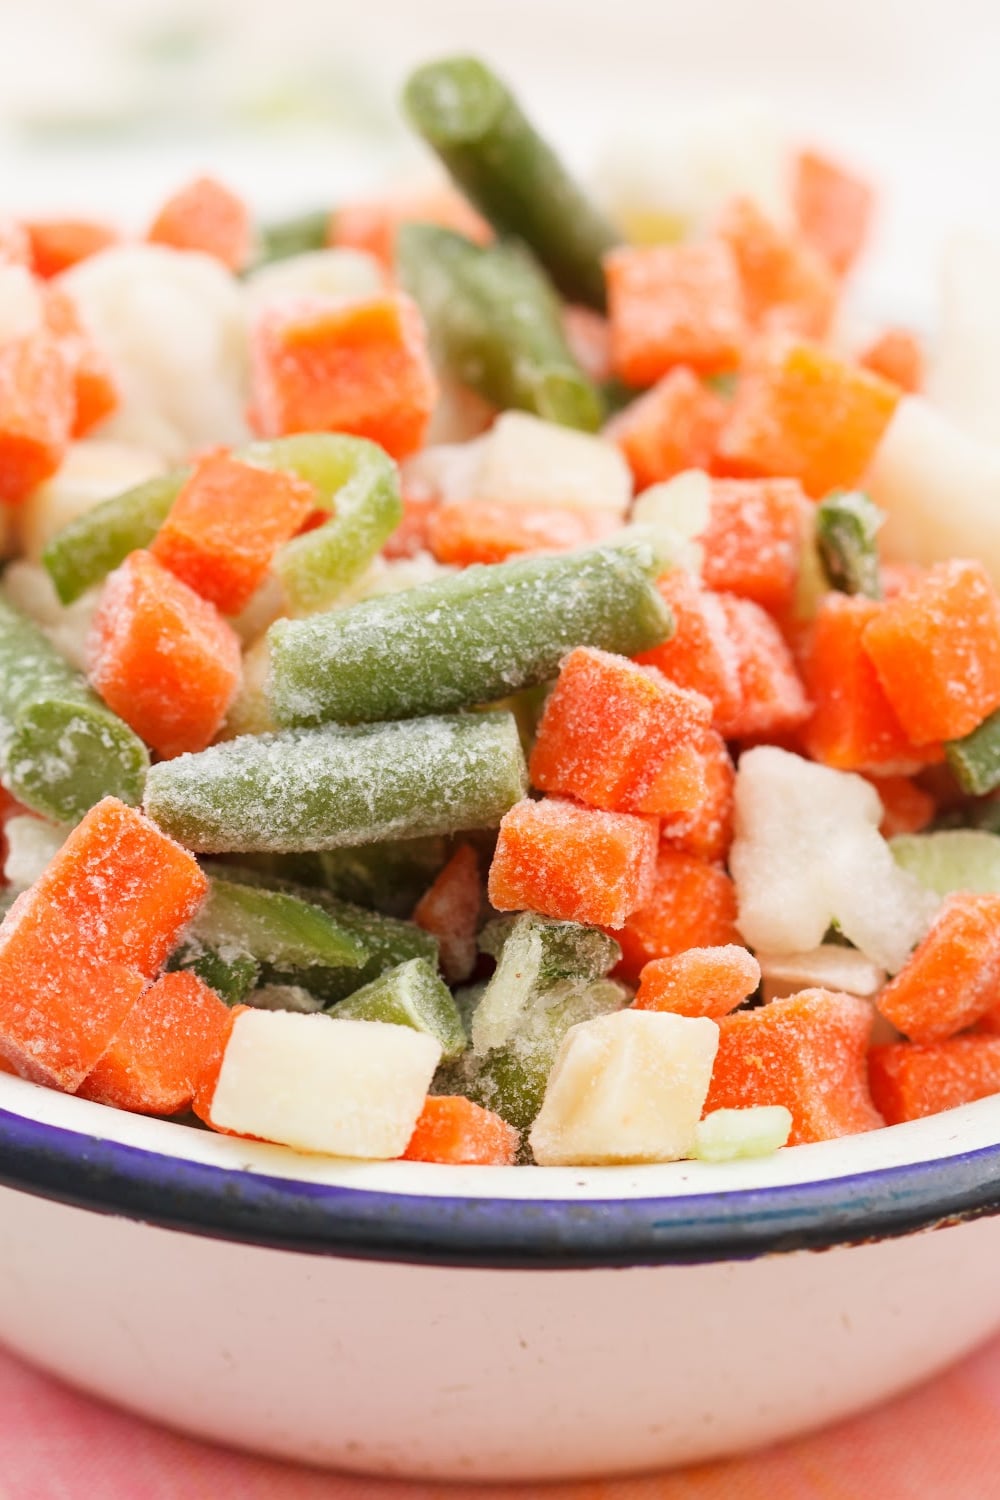
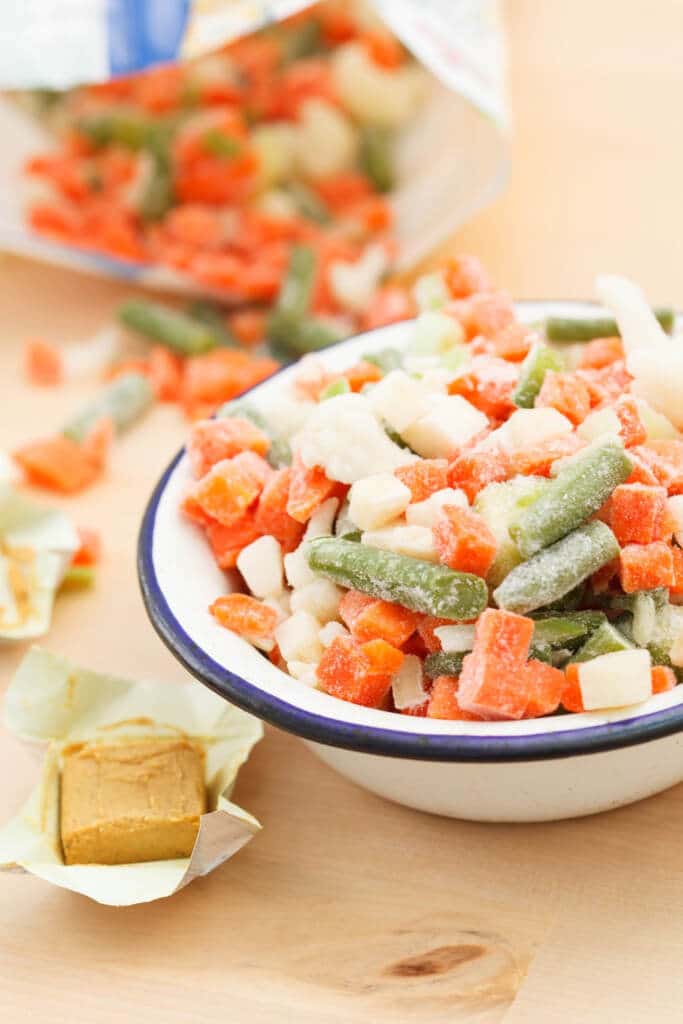
Put one to two pounds of produce into a boiling pot of water, and boil for the specified amount of time, but no longer! Immediately drain and transfer to ice water to stop the cooking process, after they’re cool, drain thoroughly.
Some vegetables cannot be blanched. This is relatively due to their high water content. Many veggies before freezing should be blanched.

Common Vegetable and Blanch Times
As a rule of thumb, you should blanch these vegetables before freezing them.
Asparagus – 2 minutes
Beans – (string, snap, green, Italian)- 3 minutes
Beets – 3 -5 minutes or until tender
Broccoli (bite-size) – STEAM 2 minutes
Brussels sprouts (medium size) – 2- 4 minutes
Cabbage – 90 seconds
Carrots or parsnips (baby) – 3-5 minutes
Cauliflower (bite size) – 3 minutes in heavily salted water
Celery – 3 minutes
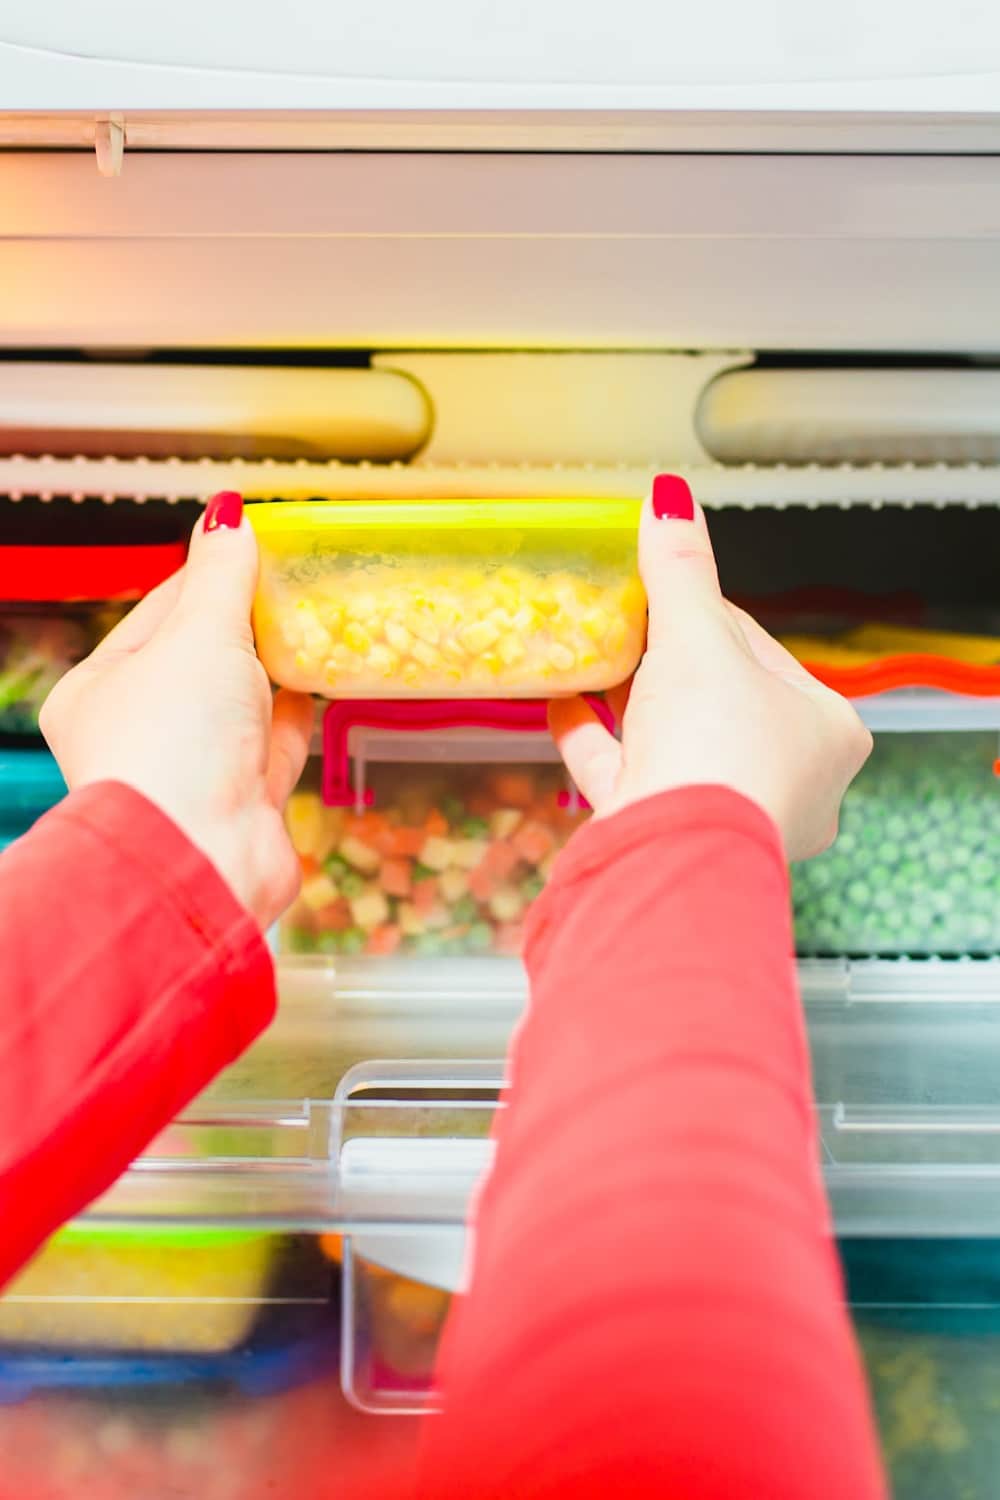
Corn on the cob – 9 minutes
Corn kernels – 4 minutes ON THE COB, cut from the cob after blanching and cooling
Cooking greens (kale, chard, mustard, beet, or turnip greens) – 2 minutes
Collard greens – 3 minutes
Kohlrabi (cubed) – 1 minute
Okra (whole) – 3 minutes
Peas (shelled) – 90 seconds
Rutabaga or Turnips (cubed) – 2 minutes
After blanching; cool and drain thoroughly. Then pack into freezer bags (leaving room for you to flatten the pack), and seal tightly, removing as much air as possible. Or you may think about using my favorite kitchen gadget, a Foodsaver vacuum.
If you don’t have this fancy gadget. I recommend using a straw to suck out the last of the air and then quickly sealing it from a zipper-like plastic bag. Don’t forget to label and date the package before putting it in the freezer.
Vegetables That Should Not Be Blanched
Vegetables with higher water content should be treated differently when it comes to freezing. Some should be cooked through, others not cooked at all.
Cucumbers – Not recommended for freezing
Leafy greens – best fresh, adult spinach may be blanched for 30 seconds, chopped then frozen, and packed tightly. Do not recommend freezing lettuce.
Mushrooms – peel, steam for 3 1/2 minutes. Then saute in fat (meat drippings or butter), cool, and freeze with drippings.
Peas (snow peas in the shell) – blanch for 30 seconds, and freeze whole.
Peppers (sweet, bell) – cut into the desired shape (dice, strips). Then freeze on a baking sheet and transfer to a bag. Pack tightly to avoid crystals.
Peppers (hot)– Remove stem, freeze whole, tightly packed.
Squash (Summer)– Does best grated, packed tightly, and frozen
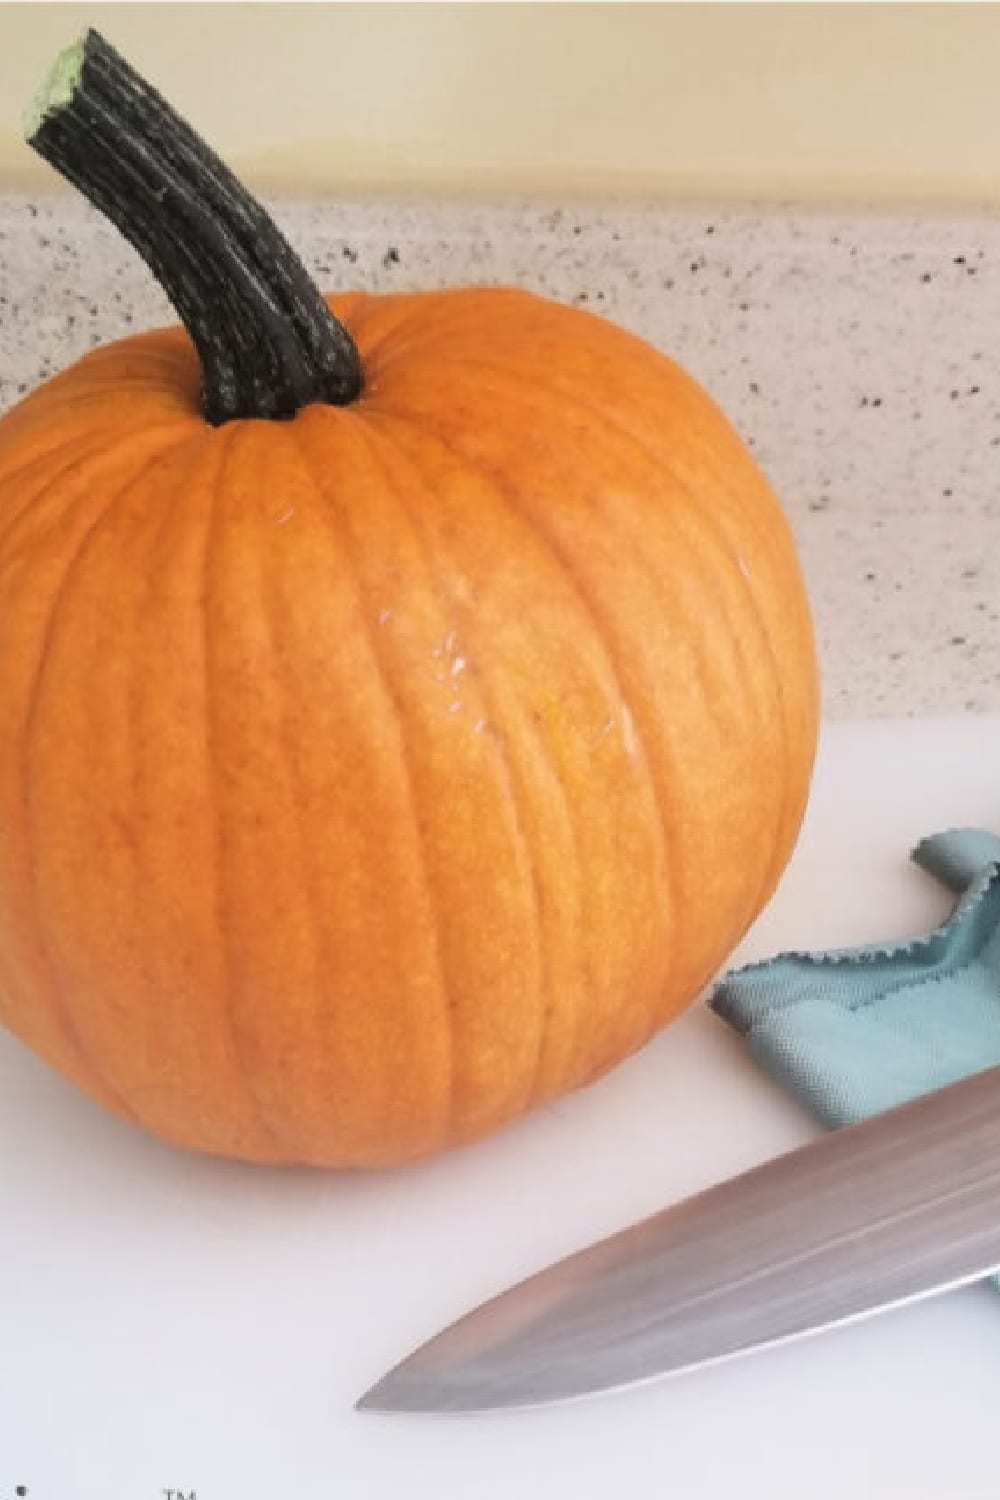
Squash (winter, pumpkin) – Cook through. Then remove skin and mash, freeze
Tomatoes: Not recommended for freezing.
Looking to preserve vegetables that can not be frozen? Canning may be the way to go. Read more about The Benefits of Home Canning your Own Food.
And there you have it! Preserve a part of your bounty to enjoy in the winter; fast, easy, and best of all… frugal! What will you be freezing this year from your garden? Let us know in the comments.
Other Helpful Articles
Creative Tips for Healthy Eating That Won’t Drain Your Wallet
Freeze More, Waste Less: Top 10 Foods for Ultimate Savings
The Benefits of Home Food Canning – Preserving To Save
This post may contain affiliate links or sponsored content. Disclosure Policy


This is great. Thanks for sharing this. In an emergency situation, it is important to have a stockpile of food that will last for an extended period of time. However, not all food lasts indefinitely, and some may even spoil after just a few days. By preserving food, you can extend its shelf life and ensure that you will have enough to eat in a crisis. Many people also choose to freeze their food. This is one of the most effective methods of preservation, as it can keep food fresh for up to two years. Are all of the foods suitable for freezing? Thanks.