Christmas Pine Soap Recipe: Melt and Pour Version
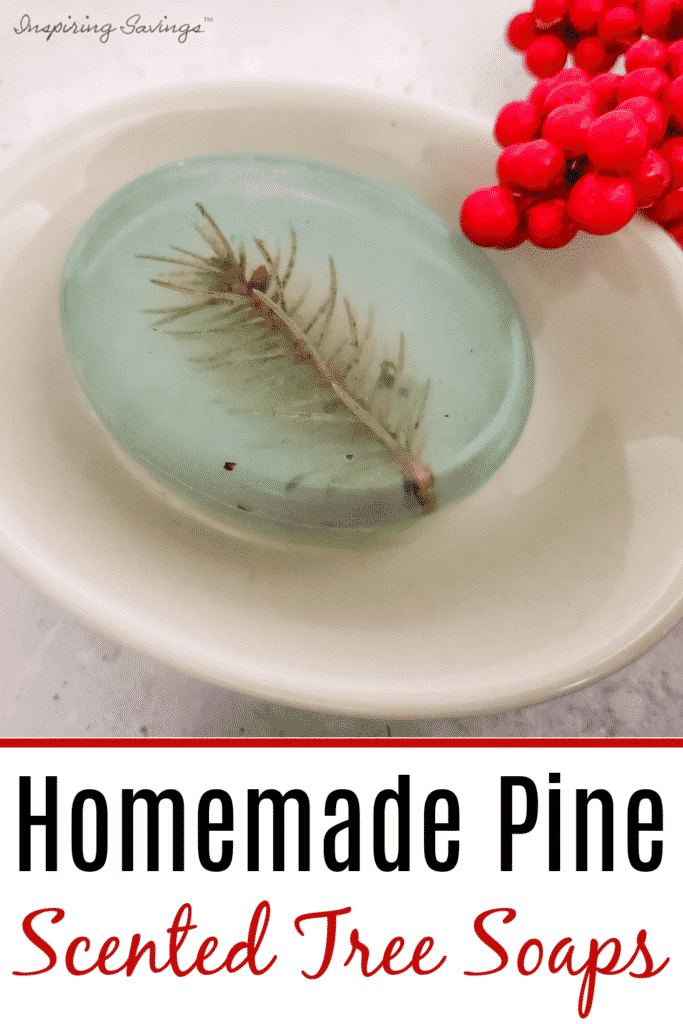
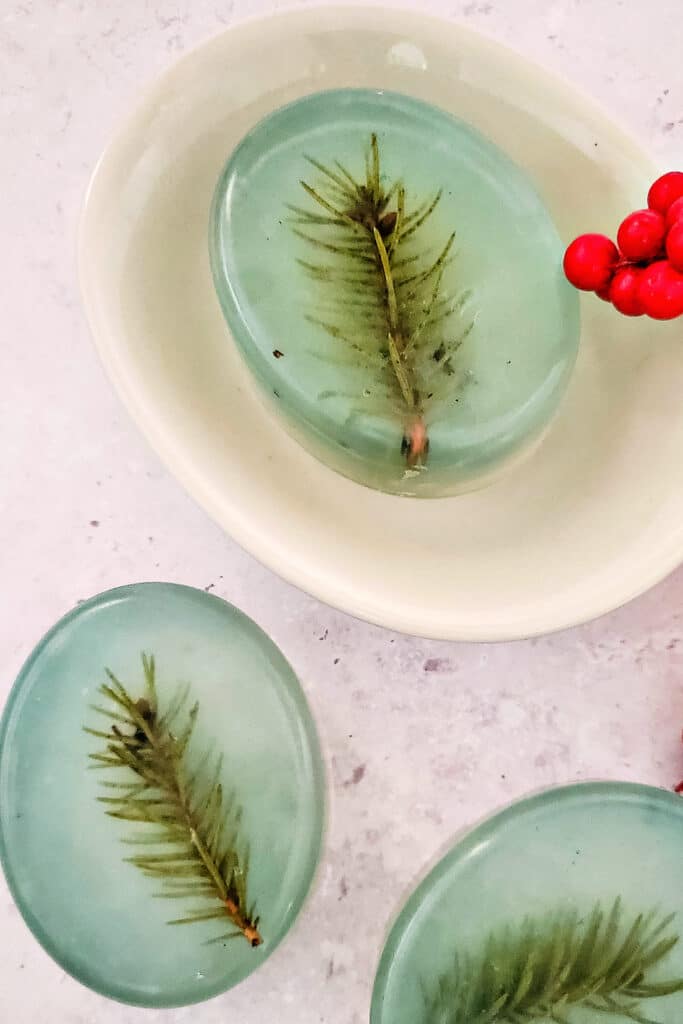
This Christmas Pine Soap Recipe: a melt-and-pour version that is easy and fast! A beautiful gift idea for family & friends.
Don’t you just love the scent of pine trees? Pine is uplifting, calming, and mentally clarifying, too. It reminds me so much of our vacations in Maine. When I use my Pine Soap in the shower, it just starts the day off right!
Making soap can be pretty complicated. I have seen all the recipes out there in the world of Pinterest. As I was researching all the different ways that soap is made, I gained a new respect for the pioneer women who had no choice but to make their own. I, of course, chose the easiest method I could find!
A melt-and-pour version. The key to easy soap-making is using glycerin melt and pour soap base. If we had to break it down we are not making soap from scratch, but rather soap bars.
Forest Pine Soap Recipe: Melt and Pour Version
Finding Natural Pine Scent
Essential oils are used in so many natural soaps and natural cosmetics is because they capture the real scent of a plant. Essential oils are compounds from the plant or other natural substances that are distilled down and create the “essence” of that plant or product.
So you know you are getting the best of the best. There are many holiday-scented essential oils you can use. I prefer the Balsam Fir Needle. You can also consider swapping out each scent with a corresponding matching element.
For example: using peppermint oil and peppermint leaves or using cinnamon oil and using a cinnamon stick. It is all about creativity and adjusting the soap base to your needs.
Ingredients Needed To Make Pine Soap
Please note that there is a printable list with instructions below.
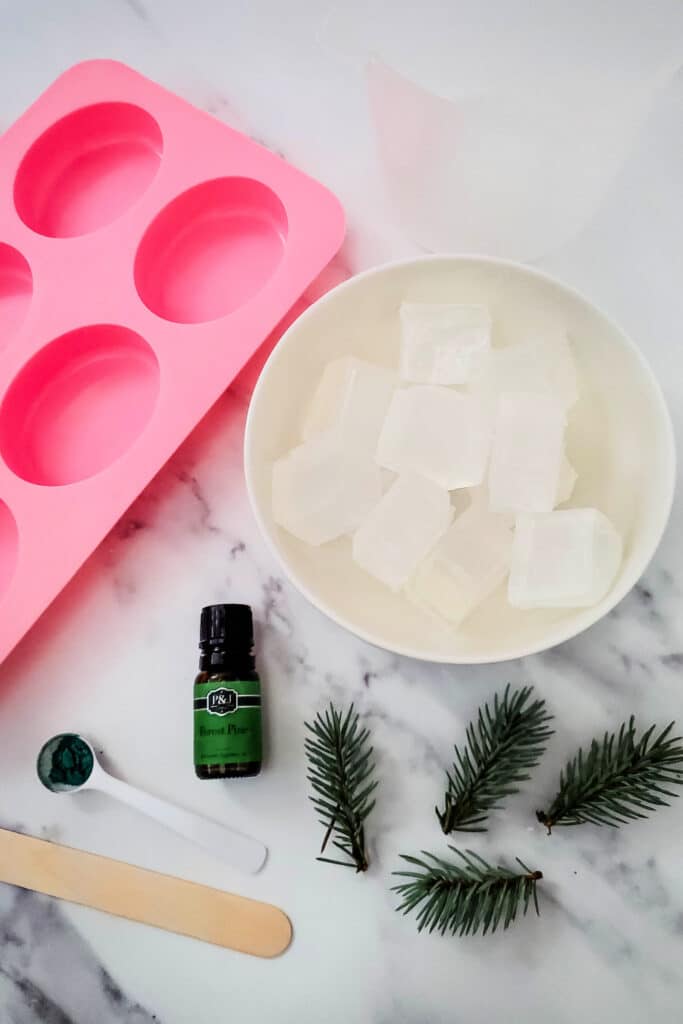
- ¾ lb glycerin melt and pour soap base
- 10 drops Balsam Fir Needle Oil or your favorite scent for Christmas
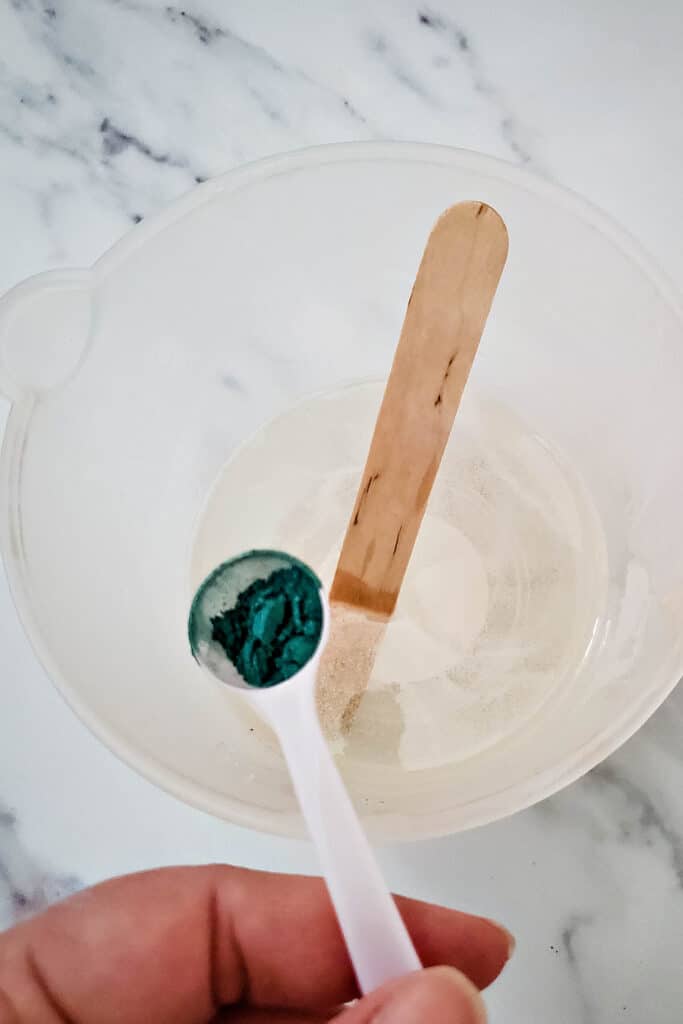
- A tiny amount of Green mica powder, less than ⅛ teaspoon – too much will make it too green and you won’t see the pine sprig
- 4 sprigs of fresh pine or pine needles– picked from my backyard
- Wooden craft stick for stirring
- Large microwave-safe spouted measuring cup – I like my glass 4-cup liquid measuring cup
- Silicone Soap Mold
Tip: DO NOT spray the mold with Pam or use any other type of no-stick spray. The soap bars pop out easily, and the spray makes them greasy. The molds allow for easy pop-out of soaps.
How to Make This Soap
Please note that this recipe will make 4 cute soap bars.
STEP ONE: Gather all your supplies in one spot. Making it easier to grab when needed. If your glycerin soap base is not already in chunks, you will want to cut them into one-inch cups. Then place it into a large spouted glass measuring cup or large bowl – plastic.
STEP TWO: Heat soap in the microwave on high for 30-second intervals. Make sure to stir in between each heating session. Once your soap base is fully melted, you can then add in your Balsam Fir Needle Essential Oil. Stir until well combined.
STEP THREE: Add in your tiny amount of green mica powder. Again, stir well until combined.
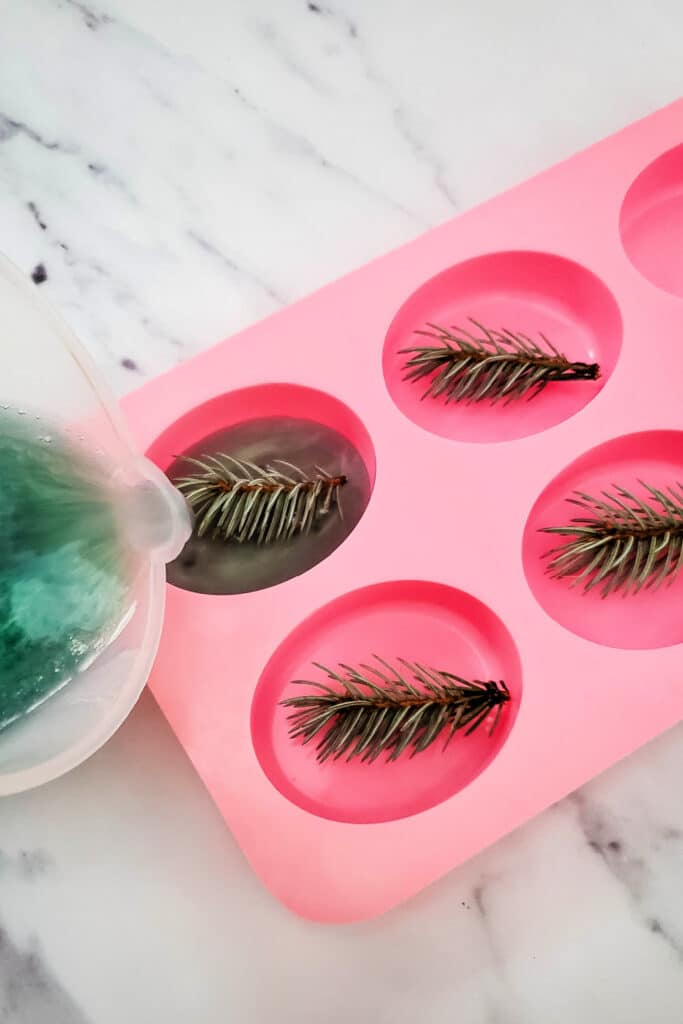
Then pour a small amount of soap base into the mold cavities to just fill the bottom about ⅛ inch. This way you have a base to set your pine sprig onto. Gently push spring it into the soap layer. Not too hard or your needles from your spring will push through.
STEP FOUR: Now you are ready to pour the rest of your soap base into each mold cavity. Fill until each pine spring or your pine needles are completely covered.
STEP FIVE: allow soap to set for at least one to two hours, then remove it from your mold. Then you are all set.
More Season Holiday Craft Ideas
Homemade Wood Snowman Hat Ornaments Craft
Wood Bead Wreath Christmas Ornaments
DIY Christmas Nativity Craft For Kids
Magical Reindeer Food – Incredibly Easy Holiday Tradition
This post may contain affiliate links or sponsored content. Disclosure Policy


this is something that i’ve been wanting to try. this looks so easy. I what i tried before is the one that needs curing for days and it didn’t work for me. Thanks for this. I’ll check a local supplier for this glycerin melt and pour soap base. Thanks for the recipe!
I bet that smells divine. I’ve always wanted to make my own homemade soaps but have never gotten round to trying it.
This looks so great. I love giving homemade soaps to people as gifts so I’m going to be adding this to my list.
Awesome. You’re Very Welcome!
Hhhhmmmm….soap making hasn’t been spelt out for me this easily before. I would love to give it a go and see how it goes! Thanks for sharing your recipe.
I tried to make this once and my mistake was not to gather all the things I need in one place. It took me long time but it was successful. Thanks for sharing this!
My family and I are making our own soap this weekend. Im so glad I found your site. This has been the easiest and most simple soap making that I’ve seen
I have always wanted to make my own soap! I’m going to have to try this!
This is a pretty easy recipe to start with for sure!
These are so cute! I would love to make these as gifts or for the family. What a fun idea to make a clear soap with something inside.
Thank you, Marysa!
Wow! This is really amazing! I think I’m gonna try to do this! I love it!
Thank you, Rose Ann!