
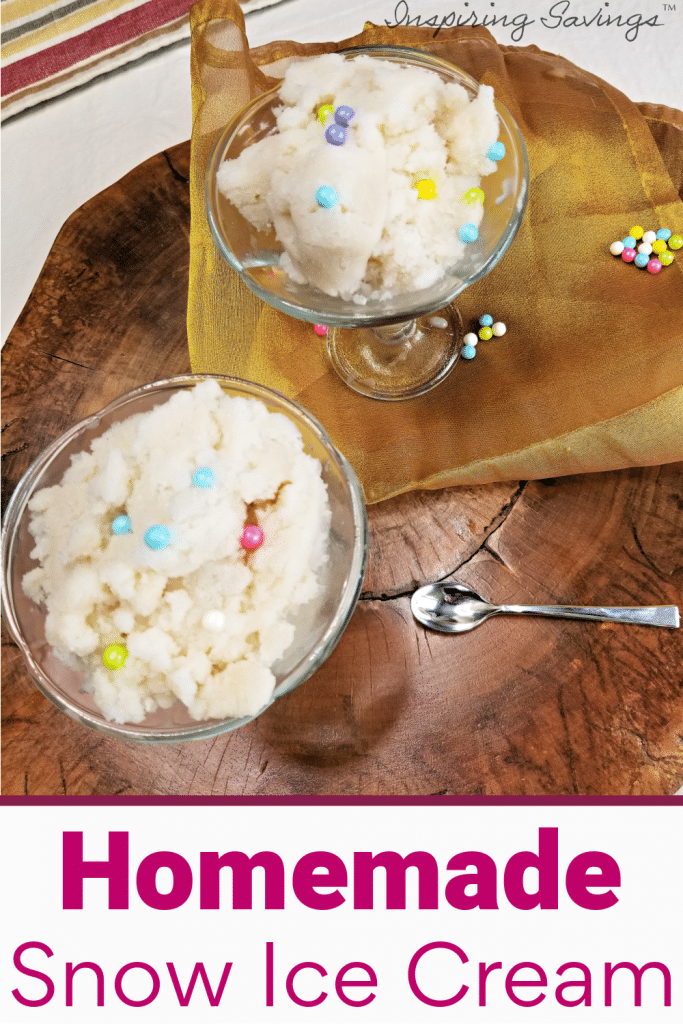
Homemade Snow Ice Cream – 4 Ingredients
⭐️⭐️⭐️⭐️⭐️
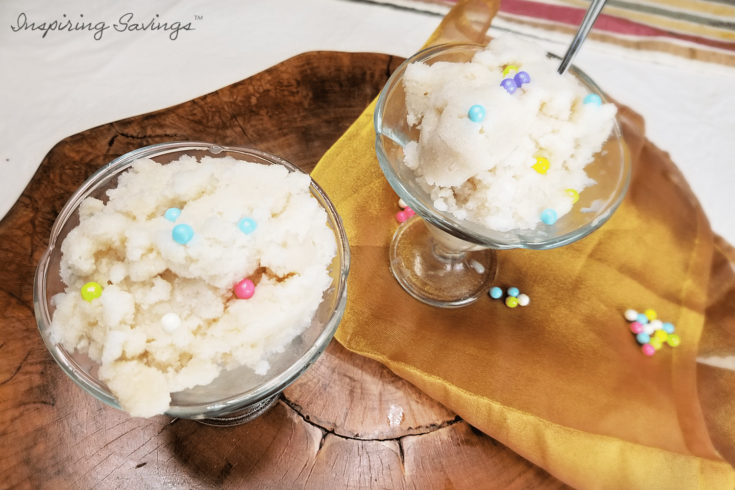
Homemade ice cream using snow! Celebrate your snow day with homemade Vanilla snow ice cream – and you can make more than just vanilla. 4 simple ingredients, and it makes the best snow day treat ever!
Homemade Snow Ice Cream – 4 Ingredients
| Prep Time: 5 Minutes Cook Time: 0 Minutes Total Time: 5 Minutes Servings: 4 Servings |
When life hands you inches and inches of snow, you play in it, then you turn it into homemade vanilla ice cream. Make a batch of delicious homemade vanilla snow ice cream with 4 ingredients and a big bowl of freshly fallen snow!
This recipe is fun for the whole family. My kids love to help make our homemade vanilla ice cream. It brings us together on the coldest of days. Living in Upstate New York will pretty much guarantee you a winter with loads of snow.
And who knows, maybe you’ll start an annual winter-time tradition! You may also want to try this Strawberry Snow Ice Cream too.
Ingredients Needed
- 1 cup of milk or 1 can evaporated milk
- 1 tsp pure vanilla extract
- 1/2 cup sugar
- 6 – 8 cups snow, plus more if needed (depends on if the snow is light or heavy)
- Sprinkles (optional)
How To Make Snow Ice Cream
If you’ve never made snow ice cream before, it literally couldn’t be easier. All you need are 4 simple ingredients (that I’m sure are already in your kitchen), about 5 minutes, and maybe a few sprinkles to throw on top for extra fun. Best part of all you do not need a food processor or special equipment.
The key ingredient in homemade vanilla snow ice cream is, you guessed it, snow! Since it’s not something you can run out and buy, you’ve got to be ready when the weather strikes.
You don’t need any special equipment either. Just a bowl and spoon.
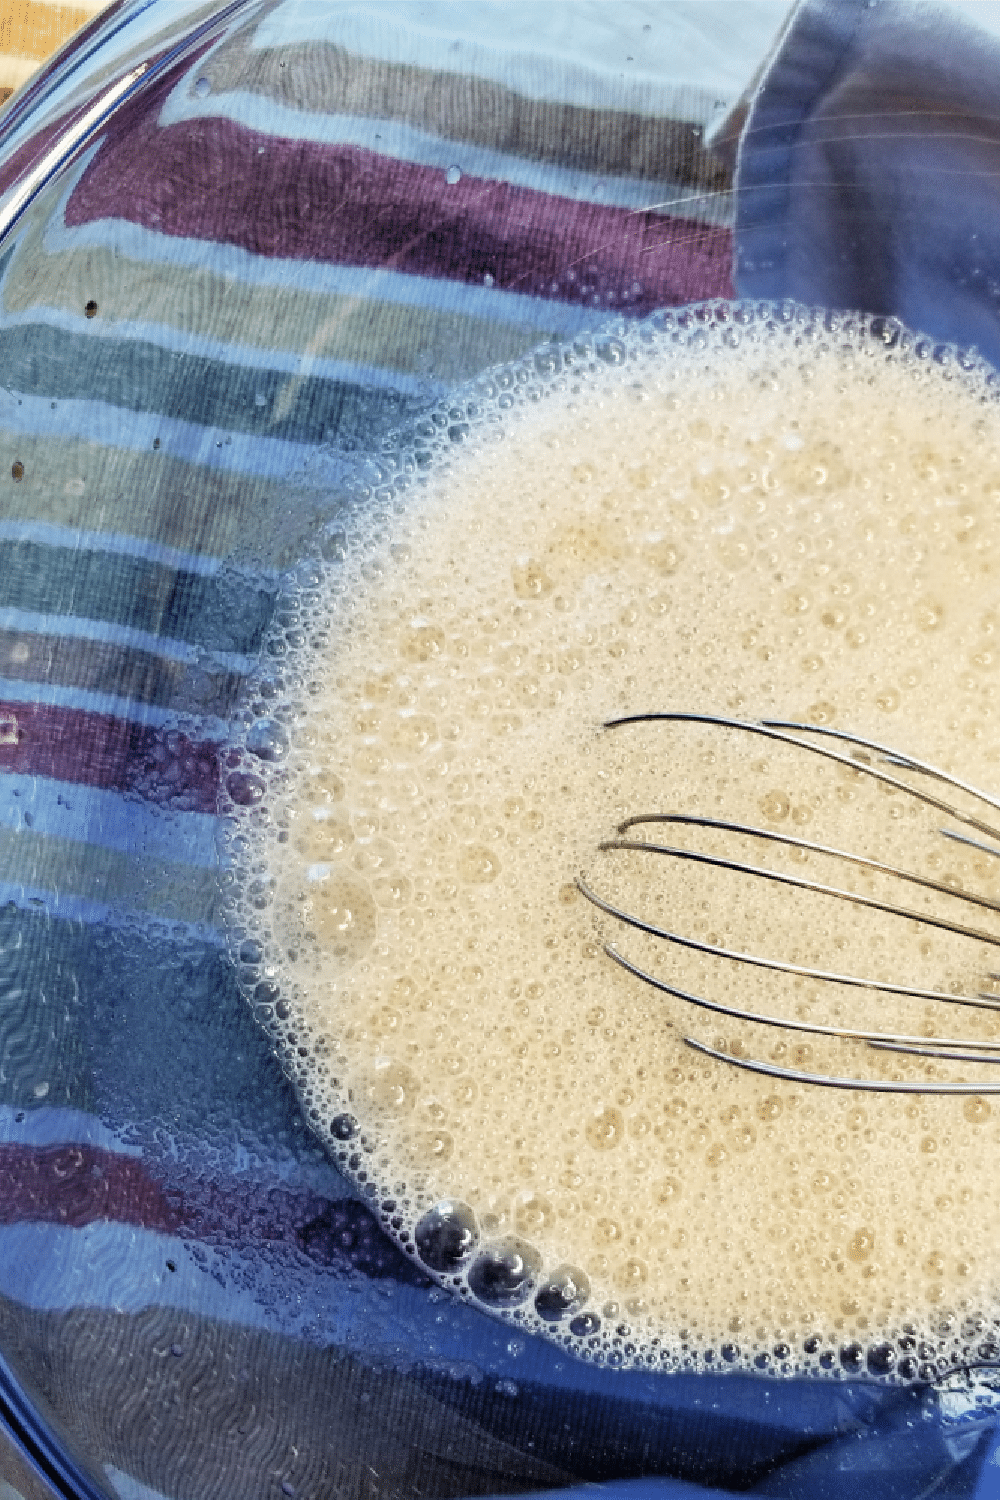
STEP ONE: Keep your milk very cold. Once you bring the snow inside, the melting clock begins to tick. But I have some tricks to help you along the way.
The key here is to whisk the ingredients together in a large mixing bowl until combined. Then pop the bowl in the freezer while you run outside to get your snow.
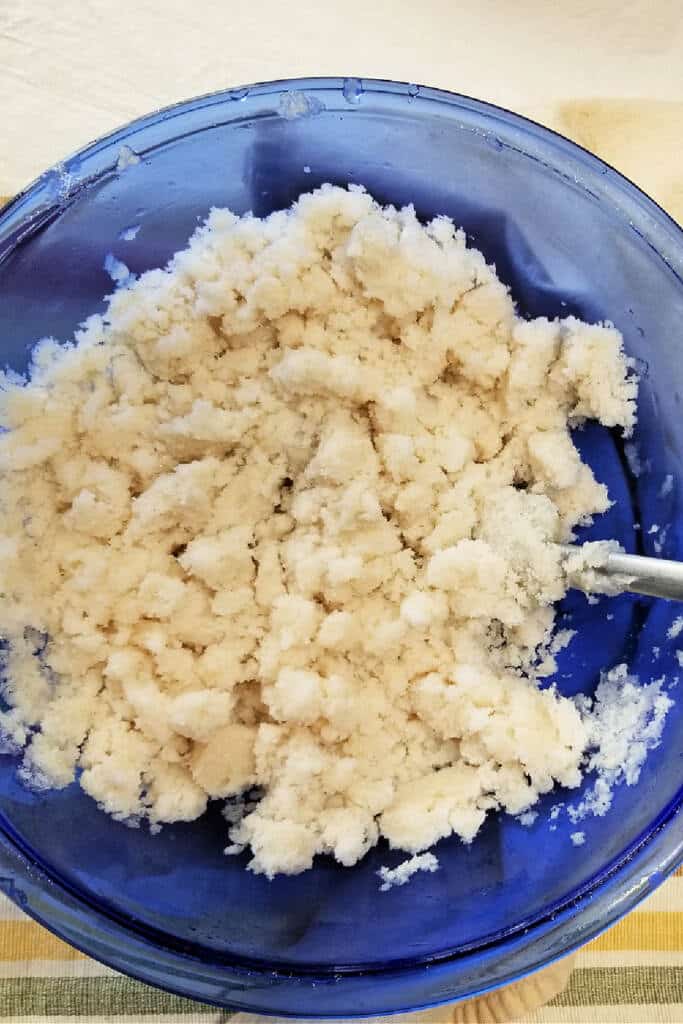
STEP TWO: Immediately stir the snow into the milk mixture and keep adding until an ice cream-ish consistency is achieved. It should be fluffy and scoop-able, but not runny.
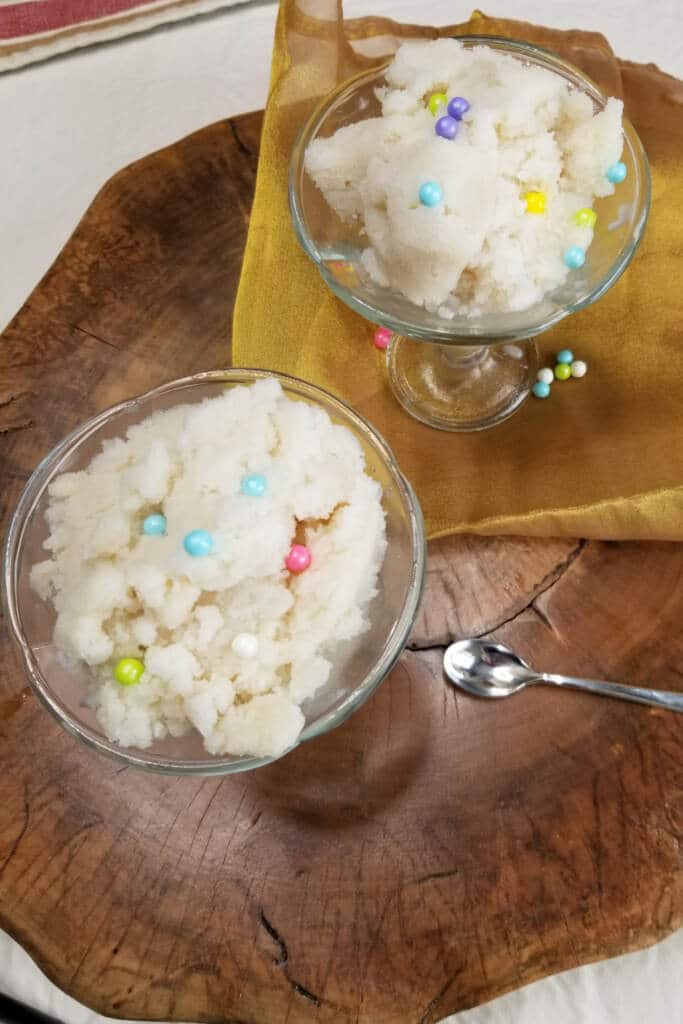
STEP THREE: Add in some sprinkles and enjoy.
Tips For Making Snow Ice Cream
Avoid collecting snow off of grass, roads, or roofs, as they may contain dirt. I’ve found that placing a bowl on an elevated, level surface is the safest way to collect fresh snow.
The texture of your snow will affect how much is needed to make your ice cream. Wet, heavy snow will need less than light and powdery snow.
The snow will melt fast. Keep your milk very cold before adding it in. You will need to mix quickly and serve immediately or make your ice cream and place it in the freezer for 15 – 20 minutes. Mix and then serve.
Add your milk mixture a little at a time and stir often. Adding it all in at once may melt your snow. The texture of the snow ice cream is just right when it reminds you of homemade ice cream right out of the churn. It will be just a little on the thin side.
Feel free to substitute maple syrup for white sugar. Using only a 1/4 cup.
More Fun Recipes to Make
No Churn Cookie Dough Ice Cream – Kid Friendly
Best Minion Birthday Party Snack
World’s Best & Easiest Chocolate Fudge
Homemade Vanilla Snow Ice Cream Recipe
Homemade ice cream using snow! Celebrate your snow day with homemade Vanilla snow ice cream - and you can make more than just vanilla. This recipe for snow ice cream is super easy! 4 simple ingredients and it makes the best snow day treat ever! Perfect for kids to make too!
Ingredients
- 1 cup milk or evaporated milk
- 1 tsp pure vanilla extract
- 1/2 cup sugar
- 6 -8 cups snow, plus more if needed
- Sprinkles (optional)
Instructions
- In a large bowl combine milk, vanilla, and sugar until combined. Fold in snow until desired consistency is met add your favorite toppings or enjoy immediately.
- Will keep in the freezer for a short period.
Nutrition Information:
Yield:
4Serving Size:
1 cupsAmount Per Serving: Calories: 136Total Fat: 1gSaturated Fat: 1gTrans Fat: 0gUnsaturated Fat: 1gCholesterol: 5mgSodium: 32mgCarbohydrates: 29gFiber: 0gSugar: 26gProtein: 2g
This post may contain affiliate links or sponsored content. Disclosure Policy


One Comment