No-Bake Chocolate Peanut Butter Crunch Bars
⭐️⭐️⭐️⭐️⭐️
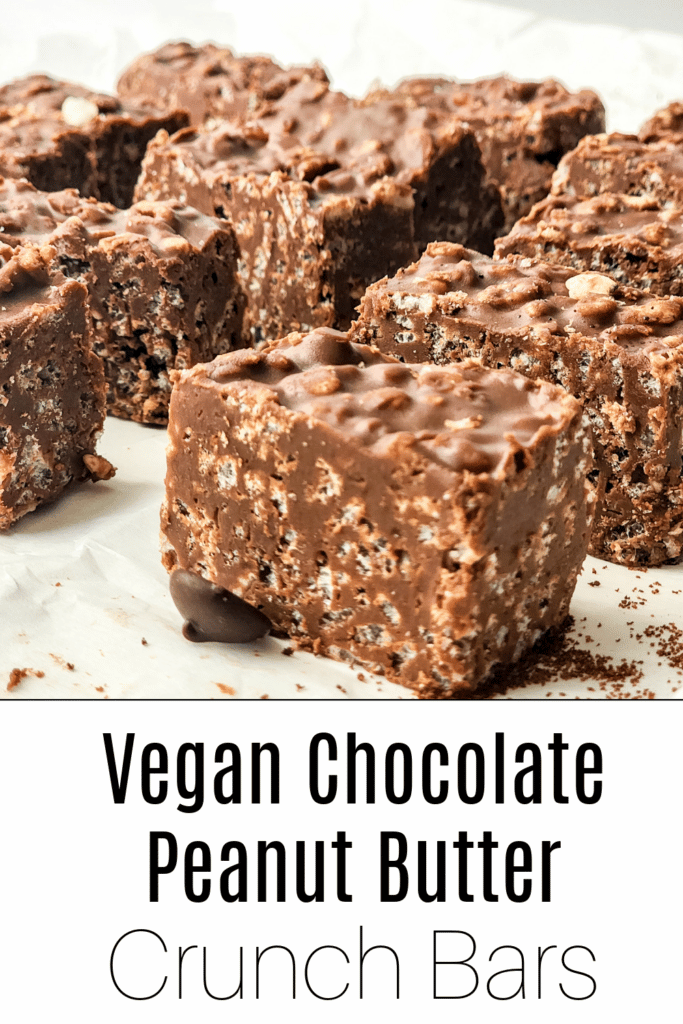
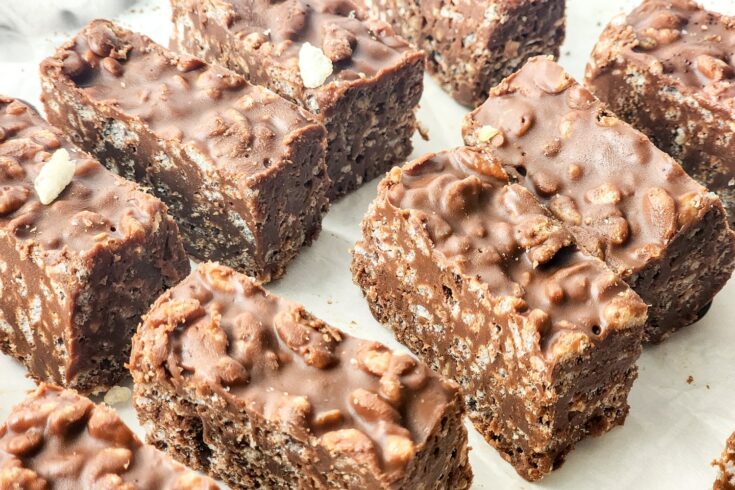
No-bake and easy-to-make, these Chocolate Peanut Butter Crunch Bars come together with real food ingredients and are the perfect treat for any time of the year.
No-Bake Chocolate Peanut Butter Crunch Bars
| Prep Time: 20 Minutes Cook Time: 0 Minutes Additional Time: 1 Hour Total Time: 1 Hour, 20 Minutes Servings: 16 Bars |
These Chocolate Peanut Butter Crunch Bars are easy to make and no-bake. They are made with real food ingredients and are the perfect treat for any time of the year.
They’re made with less sugar (naturally sweetened), are vegan-friendly, and have the perfect crunch in every bite. They contain just enough chocolate to make these bars a great sweet snack.
They’re easy enough to make on a whim with ingredients you may already have on hand. All you need to do is grab five simple ingredients from your pantry: peanut butter, maple syrup, chocolate chips, coconut oil, and a box of crispy cereal.
Side note: If you are a big fan of peanut butter, you will want to make this amazing Peanut Butter bread, too. It also contains substitutions to make it Gluten-Free.
Why You Will Love These Crunch Bars
- Crunchy, crispy, smooth, and creamy and all words to describe these no-bake chocolate peanut butter crunch bars. You bite into it and are met with of these, which are a texture lovers’ dream!
- 5 Ingredients – This recipe comes together rather quickly because it uses mainly pantry staples.
- Everyone will love these – The recipe is a family favorite, and anyone who has ever tried this recipe says it is delicious.
Ingredients Needed
Scroll down for printable ingredient list with instructions.
- Rice crispy cereal – I love using rice crispy cereal for this recipe. However, any crunchy cereal will work! Try plain, crunchy ones like Chex, Cheerios or even All Bran. You could even substitute for a gluten-free version as well.
- Semi-sweet chocolate chips – Your favorite brand will do nicely. We prefer the Aldi brand.
- Peanut butter – Natural peanut butter is best. If using a peanut butter with added sugar, try a little less maple syrup (taste first to make sure the sweetness works for you!).
- Maple syrup – We make our maple syrup every year, so of coarse I would use this as a natural sweetener. You could swap it out for honey as a substitute.
- Coconut oil – Coconut oil is light and fluffy. It is my preference, but butter or vegan butter works well too.
How to Make These Crunch Bars
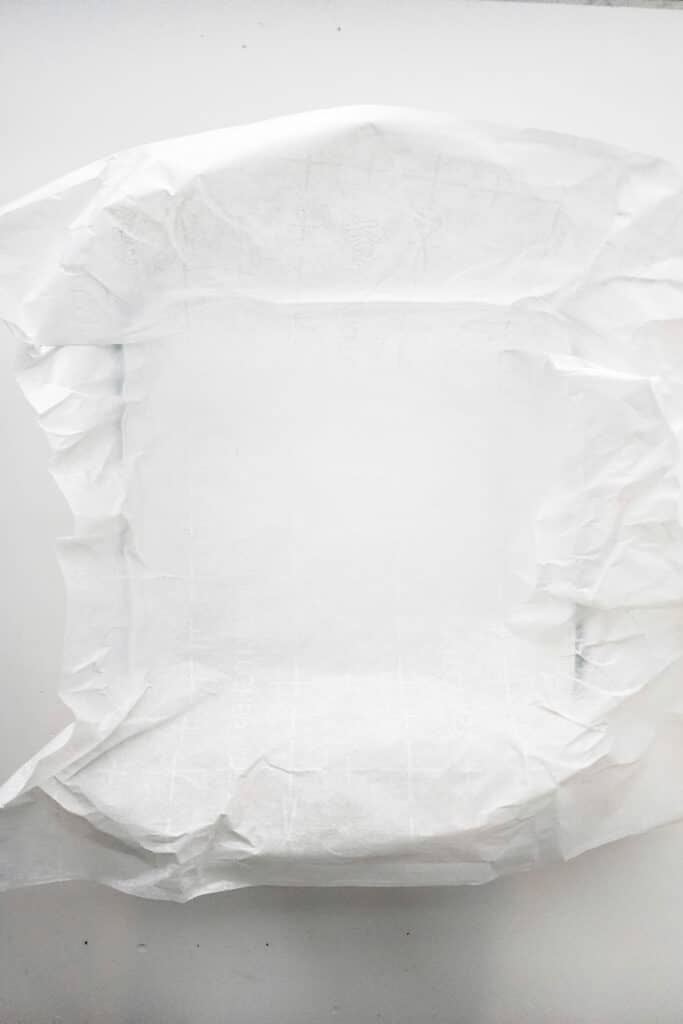
STEP ONE: Start by pouring your cereal into a large bowl and setting it aside. To also save time, prepare your baking dish by adding parchment paper to it.
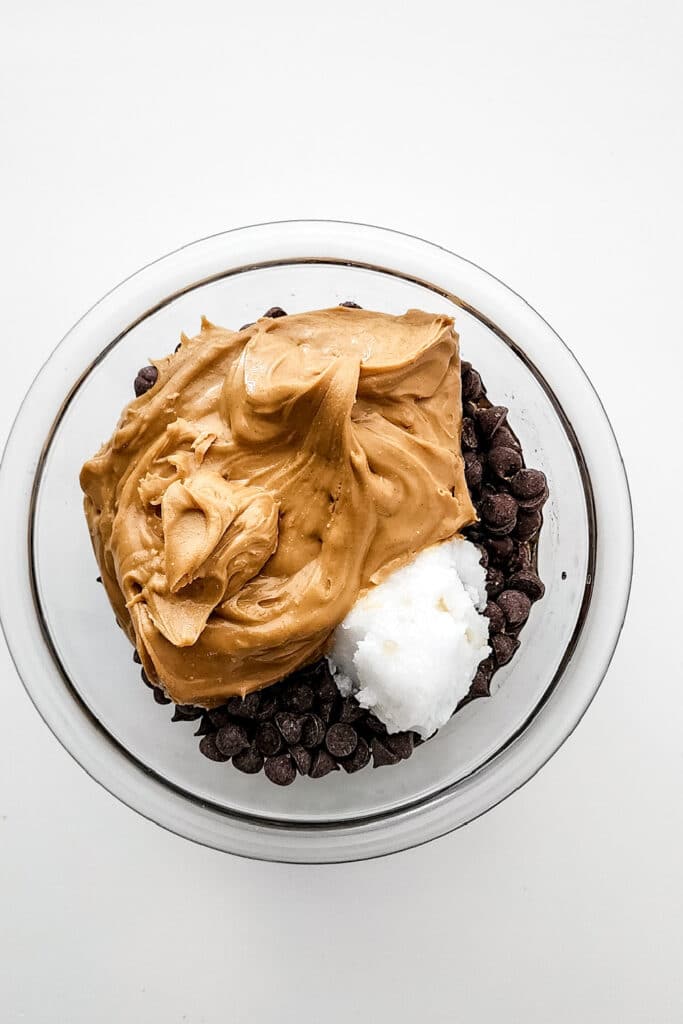
STEP TWO: In a separate bowl, melt the chocolate, peanut butter, maple syrup, and coconut oil together by heating in the microwave at 30-second intervals. Stirring each time in between until all ingredients are combined.
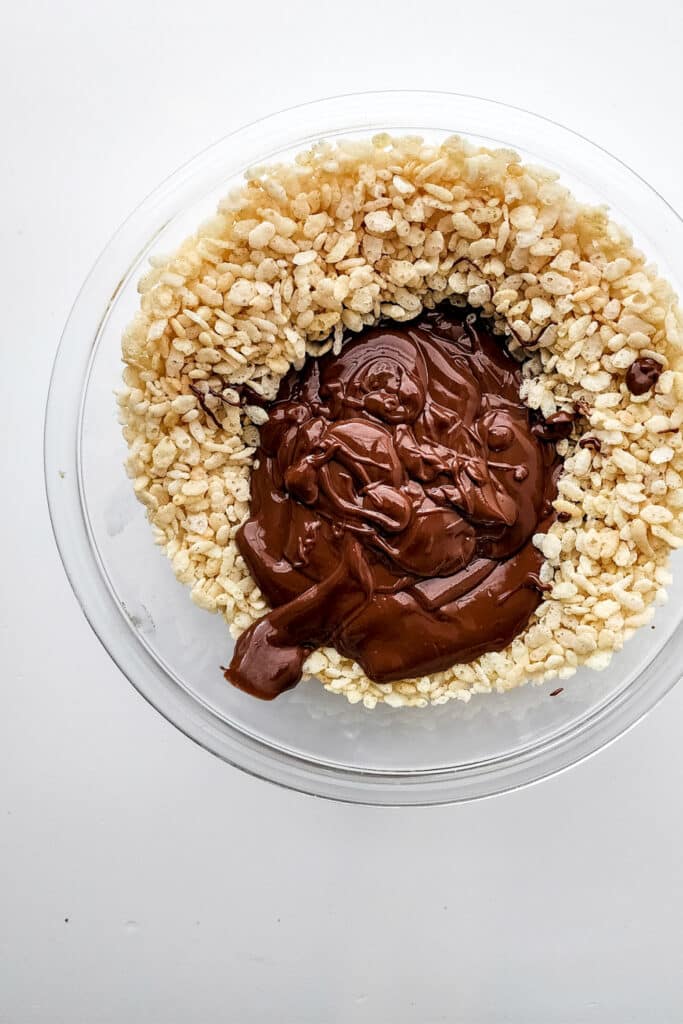
STEP THREE: Pour melted mixture over cereal and fold together until well combined.
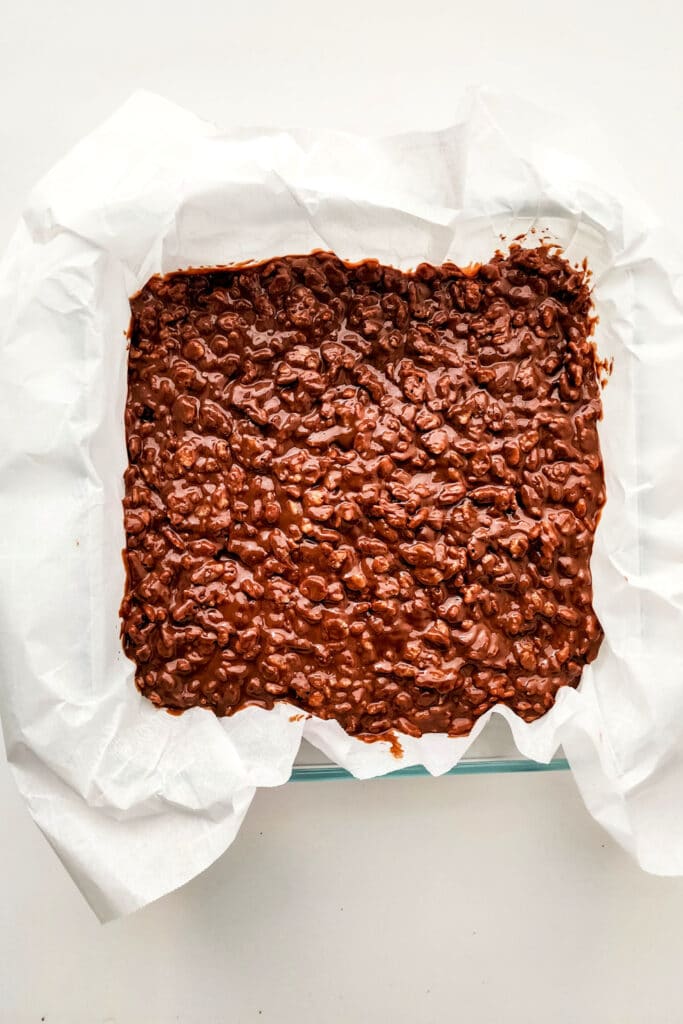
STEP FOUR: Next, place the crunch bar mixture into the 9×9 glass baking dish. Using the back of a wooden smooth it out evenly. Then, let firm in the refrigerator for at least an hour.
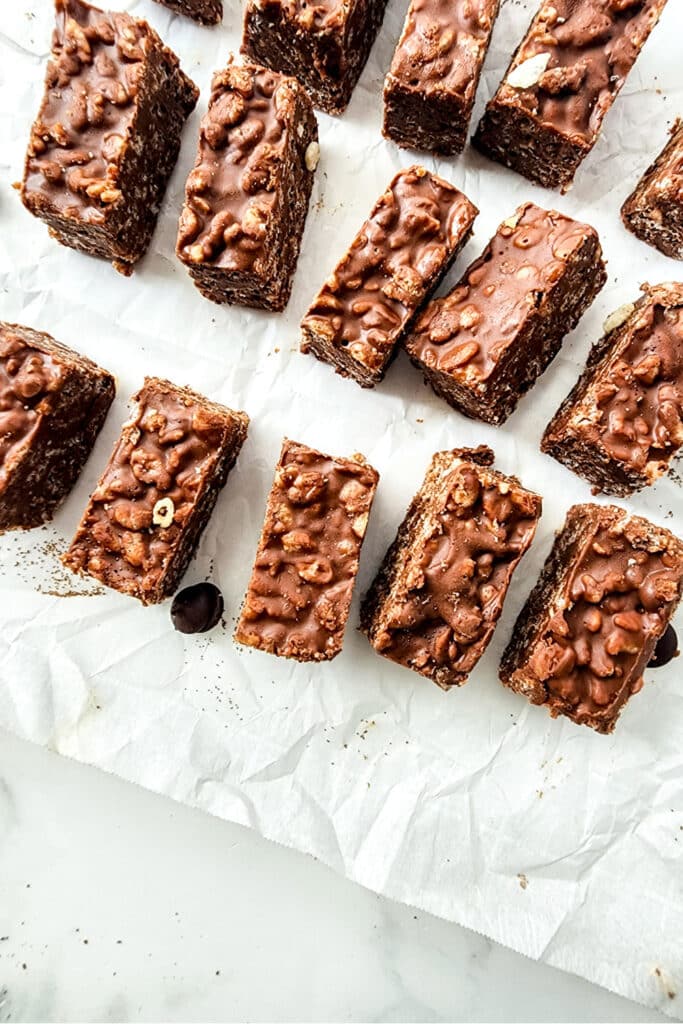
STEP FIVE: Lastly, with a sharp knife, cut the bars into 16 squares. Serve and enjoy!
How to Store Crunch Bars
In the refrigerator: These bars are stored best in the refrigerator in an air-tight container for one week.
In the freezer: For longer storage, we like to keep a stash of these bars in the freezer. They make a great and easy treat to pull out when needed. Store in the freezer in an airtight container with rows divided by parchment paper, for up to 3 months.
Other Easy No-Bake Recipes
No-Bake Peanut Butter Cheerio Bars – Gluten Free
Easy No-Bake Vanilla Cheesecake Cake Pops
No-Bake Chocolate Eclair Cake Recipe
No-Bake Chocolate Peanut Butter Crunch Bars Recipe
No-bake and easy-to-make, these Chocolate Peanut Butter Crunch Bars come together with real food ingredients and are the perfect treat for any time of the year.
Ingredients
- 3 cups rice crispy cereal
- 1 ½ cups semi-sweet chocolate chips
- 1 cup peanut butter
- ½ cup pure maple syrup
- ¼ cup coconut oil
Instructions
- Start by pouring your cereal into a large mixing bowl, and setting it aside. To also save time, prepare your baking dish by adding parchment paper to it.
- In a separate bowl, melt the chocolate, peanut butter, maple syrup, and coconut oil together by heating in the microwave at 30-second intervals. Stirring each time in between until all ingredients are combined.
- Pour melted mixture over cereal and fold together until well combined.
- Next, place the crunch bar mixture into the 9×9 glass baking dish. Using the back of a wooden smooth it out evenly. Then, let firm in the refrigerator for at least an hour.
- Lastly, with a sharp knife, cut the bars into 16 squares. Serve and enjoy!
Notes
For perfectly rectangular edges on each piece, use a knife to cut away the edge of each side of the pan of crunch mixture after hardening and unwrapping from the parchment paper.
Nutrition Information:
Yield:
16Serving Size:
1Amount Per Serving: Calories: 275Total Fat: 16gSaturated Fat: 7gTrans Fat: 0gUnsaturated Fat: 7gCholesterol: 0mgSodium: 89mgCarbohydrates: 31gFiber: 2gSugar: 16gProtein: 5g
This post may contain affiliate links or sponsored content. Disclosure Policy

